How to host Wordpress on Google cloud free tier
Introduction
In this article we’re going to demonstrate how you can host Wordpress on Google Cloud free tier plan.
We’ll be covering the process how to setup and host wordpress website on google cloud using their free tier plan. Yes, it can be done(Note - the hosting part for the website will be free, but if you need to buy a domain that’ll be the only expense in this post).
If you sign up for the first time, google will provide you with the 300$ in credit for the first year. After that, you can still use the free tier plan all the time. It does require from you to provide them with a credit card when you sign up(don’t worry, if you don’t go outside free tier plan after the first year you won’t be charged). Also, We’ll go through the configuration for the wordpress, web server, database, pros and cons and the performance.
Overview
In order to achieve this, we need to do the following:
We need to create a VM in google cloud, install and configure Apache web server, MySQL, PHP(LAMP stack), install and configure the Worpdress. The entire setup process will be done manually via terminal. At the end of this tutorial, we’ll host a wordpress on google cloud.
Pros
Are there pros hosting wordpress on google cloud? Aside that the solution is cost friendly for someone who wants to start blogging on a budget or for a static website. Also, it’s a good option for developers when something needs testing. Other pros are good server uptime and reliability, good performance and easy server scalability.
Cons
One of the cons hosting wordpress on google cloud is that on free tier plan(if you decide to go with this one) the server resources are limited and because of that, it’s not a good long term solution. if with time, the website visitors increase and website grows in size, it will become difficult for the server to process all that data. Other cons are that all the configuration and maintenance must be managed by you.
This scenario uses the apache web server, although a good server, it’s resource heavy and may effect website performance with traffic and size increase on the free tier plan. If you intend to use only free tier, eventually with time, you’ll need to upgrade your hosting plan.
Setup Wordpress on Google cloud
Setup a VM server
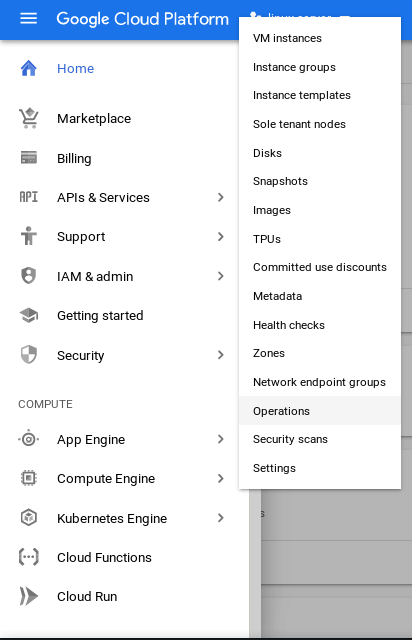
First step(after you signed up for a Google Cloud account) is to create a VM which will act as a web server for our Wordpress site. To do that, in your dashboard, from the navigation menu, go to compute instance menu and select the option VM instance.
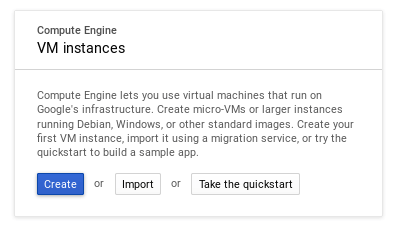
Click on the create button.
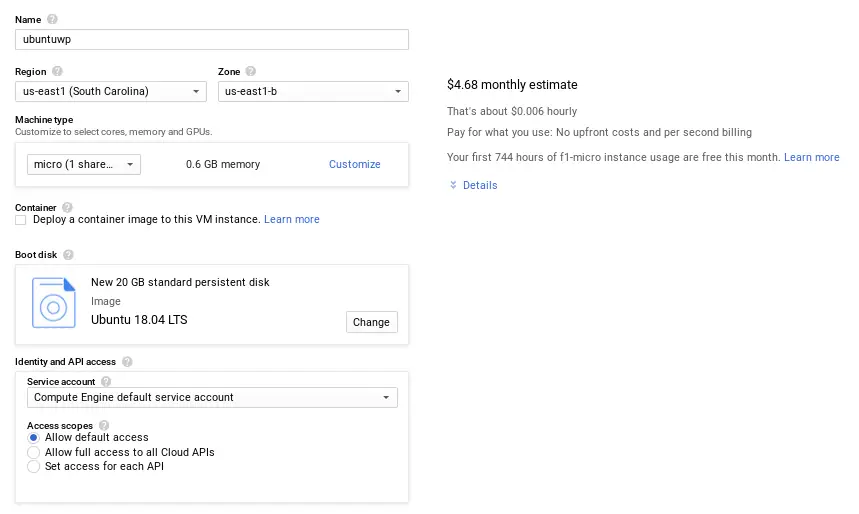
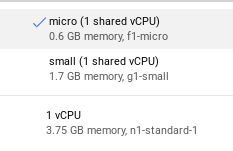
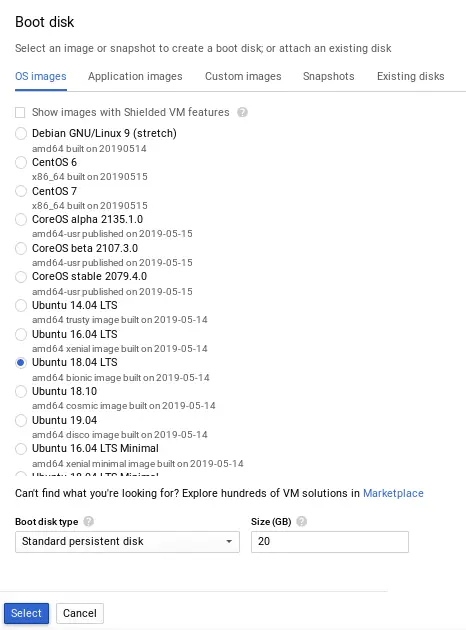
Now we have a setup screen for our VM. On this screen we need to set the parameters for our VM such as operating system, hdd size and etc. We are going to use the f1-micro instance for our VM which is a part of the free tier plan. You’ll notice on the right side of the screen, there’s a description of your selected VM with the price. Only f1-micro instance has an additional text which says that you have each month of 744 hours of free usage.
If you select any other VM instance or a service which is outside the free tier plan, google will charge you. They are going to deduct first from the the 300$ credit(if you’re under the first year trial) then charge your card if you continue to use the service after the first year and the services outside the free tier.
For this example, we are going to use Ubuntu for the OS(Linux distros are free of course, WIndows costs extra). But, you can use any other Linux distro for your OS. Also, you get up to 30GB of HDD on free tier(plenty enough for starters). Bellow you can see the screenshot of the parameters for the VM used in this tutorial as an example.
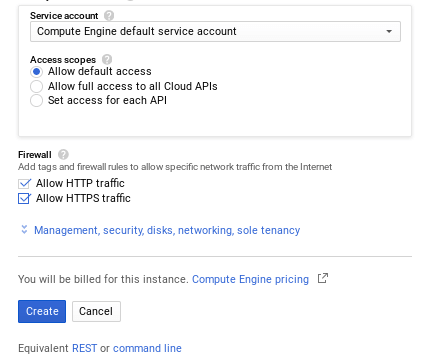
Also, on the configuration window, it is necessary to check the http and https traffic under the firewall section in order to allow the web traffic.
Setup a swapfile
Since our VM has very little RAM, that means performance of the website can be affected and because of that our website can become unstable. To provide a better performance to our website, we need to create a swapfile on our VM. Swapfile is essentially a RAM backup or RAM extension. To access our VM, we need to use SSH connection. There’s a browser terminal client which you can use. Later on, you can set your own SSH connection. Now, access your VM. First thing to do is to update our OS. After that, we need to setup a swapfile.
sudo apt update && sudo apt upgrade

sudo fallocate -l 1G /swapfile
sudo chmod 600 /swapfile
sudo mkswap /swapfile
sudo swapon /swapfile
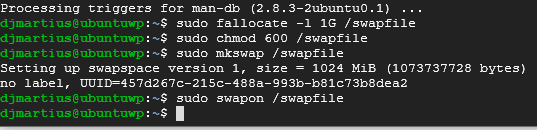
What these commands will do is to:
- allocate 1 GB of HDD space to swap((you can of course allocate more space to swap, just change the number)),
- create a swapfile, set proper permissions on it, and activate it.

You can check with htop if swapfile is active or with this command:
sudo swapon --show
You need to have outputs like these:

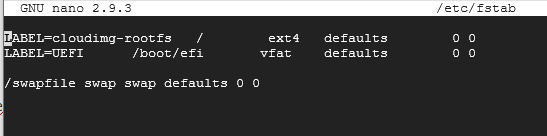
Also what is recommended is to add the swapfile entry in the fstab config file in order to swapfile mounts automatically on system startup. For that we need to use the a text editor. You can use nano like this:
sudo nano /etc/fstab
and add this line at the end of the config file and save it:
/swapfile swap swap defaults 0 0
Installing LAMP
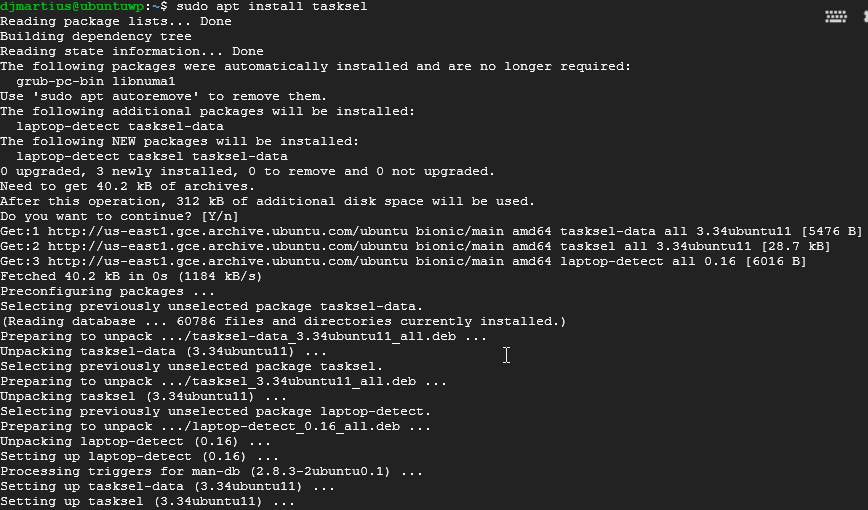
Now that our swapfile is all set, next what we need to do is to install a web server on our VM, a database server and PHP or in short a LAMP stack(Apache web server, MySQL and PHP). Usually on Linux to install all these software packages, you install them one at the time. You can still do it that way, but to avoid the longer process, we can install them all at once and automatically with a tool called Tasksel. So, first we need to install taskel, then run the command in tasksel to install packages all the above mentioned packages for us.
sudo apt install tasksel
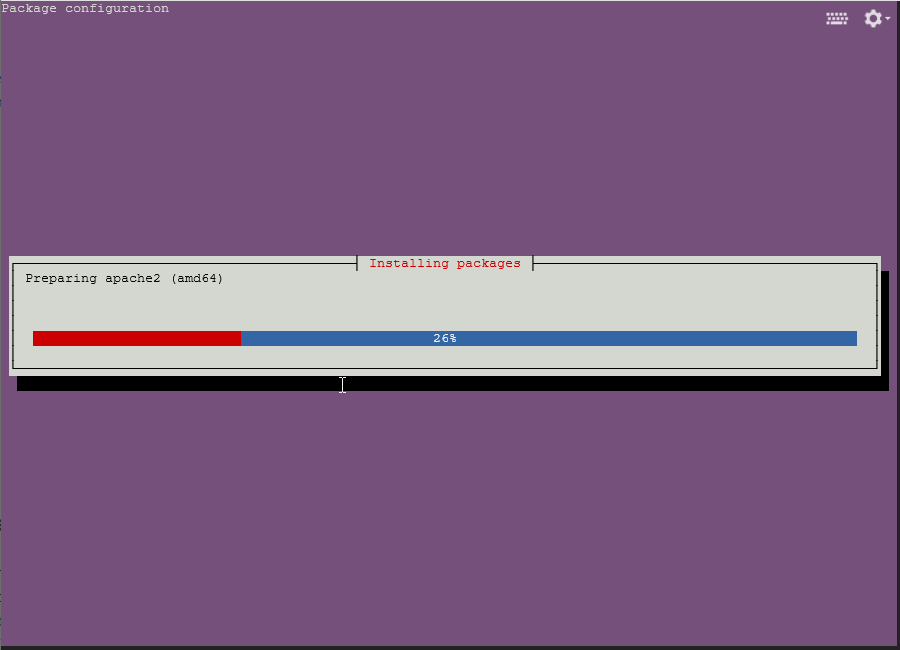
sudo tasksel install lamp-server
We also require to install some additional packages for the PHP:
sudo apt install php-curl php-gd php-mbstring php-xml php-xmlrpc
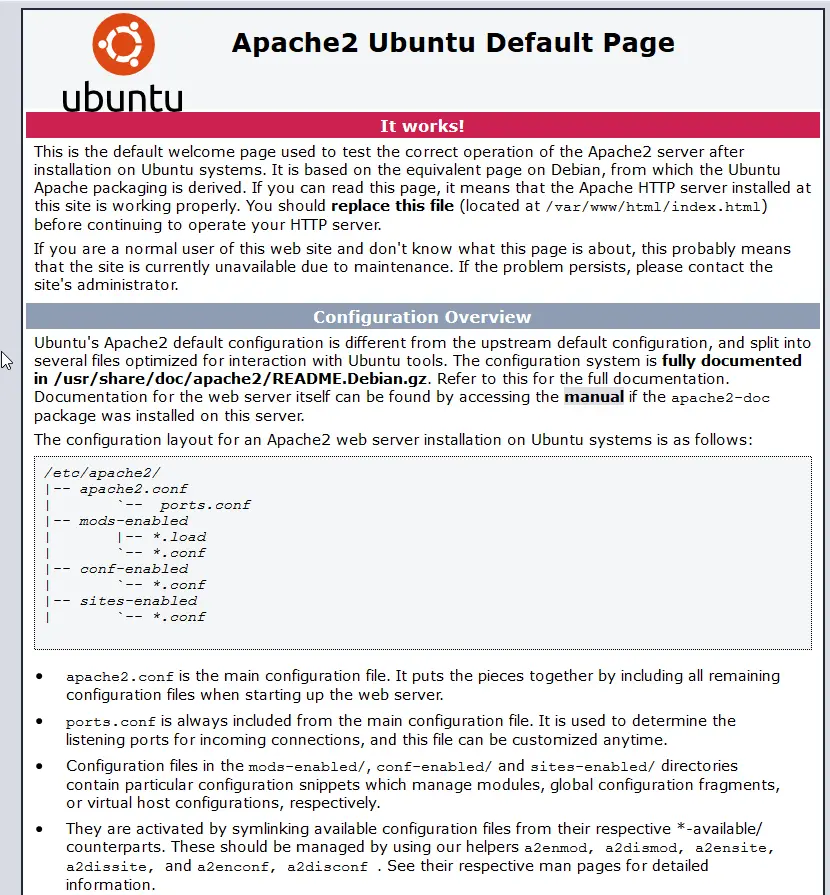
After the installation, the web server should be running already. You can test it. To check if your web server is live, from the compute engine dashboard, where your VM is listed, there’s an External IP. That’s the IP address of your VM and you can access the web server with that IP address. Open the IP address in your web browser, and if you get a page like from the picture bellow, it means that it’s working and your web server is live. To be sure, type the IP address in this format - http://your.external.ip.address, since by default web browsers today are opening the addresses with https://.
NOTE: If you decide to run your website like this and you happen to have a domain, I suggest first that in your domain settings redirect the domain to the IP address of the VM. It will make rest of the wordpress installation much simpler.
Create a database
Next in line to setup is the MySQL database. Here we’ll have couple of important information that we need to make sure we have them stored or recorded somewhere(like database user and password). Start with these commands to run the MySQL and setup the database:
$ mysql -u root
> CREATE DATABASE wordpress;
> GRANT ALL ON wordpress.\* TO 'dbadmin' IDENTIFIED BY 'StrongPassword123!';
> quit

So, with these commands we’ve done the following:
- We created a database and named it wordpress,
- Created a user named dbadmin with a password and provided all privileges to our database .
These three entries(database name, database user name and password) they can be whatever you want but they are really important. We’ll need these later on in order to finish the wordpress installation, so you must know these, store them and secure them.
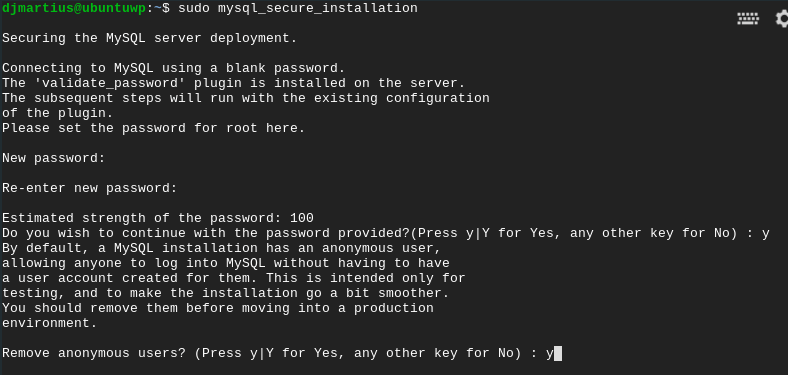
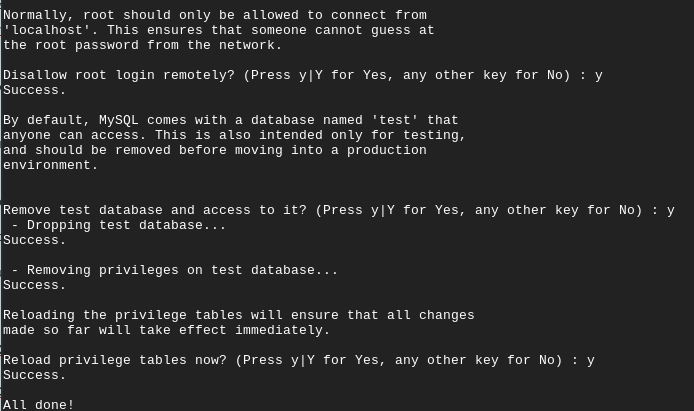
Now we can run the mysql secure installation on our VM. Run this command:
sudo mysql_secure_installation
The installation will run a wizard prompt to provide a root password for the mysql and ask you how to setup privileges on your database. You can just hit YES on all prompts.
Downloading Wordpress
Now we finally came to the part were we are going to download wordpress. Run the following commands:
cd /var/www/html/
sudo rm index.html
sudo wget https://wordpress.org/latest.tar.gz
sudo tar -xvzf latest.tar.gz
cd wordpress
sudo mv \* ..
sudo rm -r wordpress/
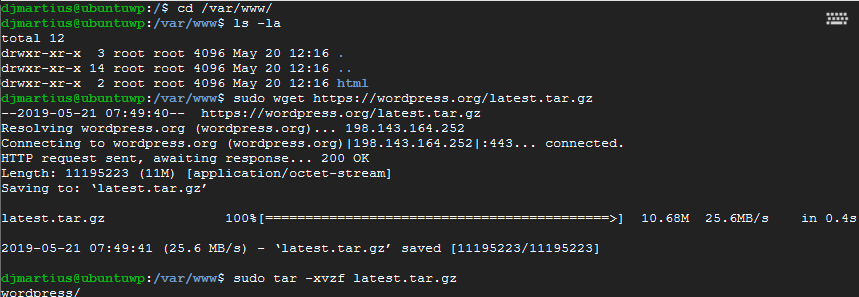
With these commands, we’ve done the following:
- We navigated to our html folder, which is a website folder for our webserver
- In there, there’s an index.html file which is a webserver landing page - we deleted it
- Downloaded wordpress installation, which is packed in an archive and unpacked it as well.
- Wordpress has it’s own folder, so we moved all files from it’s folder to the root directory of the html
- And lastly we deleted the empty wordpress folder
The end result needs to look like this:
Installing Wordpress
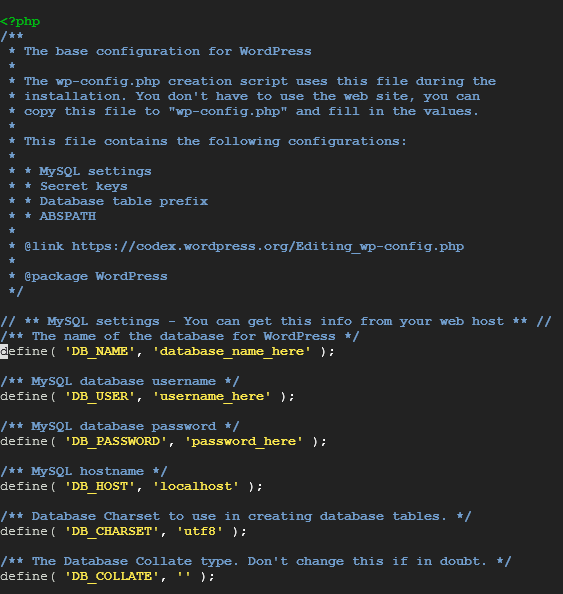
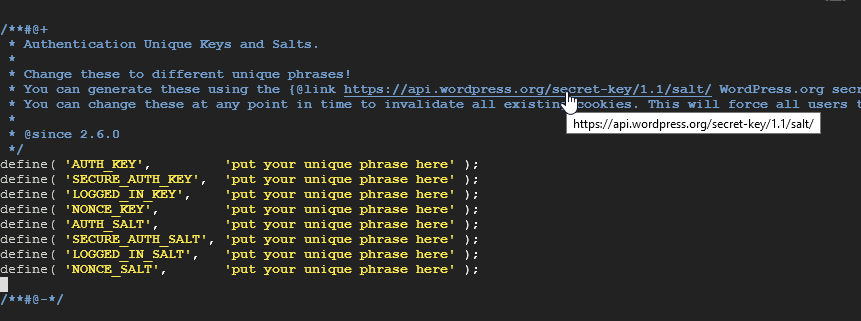
Before we run the installation from the browser, we need to edit the wp-sample-config.php. We are going to use text editor again:
sudo nano wp-config-sample.php
In the config file we need to change the entries for the database name, user name and password. In there you’ll add the info you created earlier for your MySQL database. See pictures bellow:
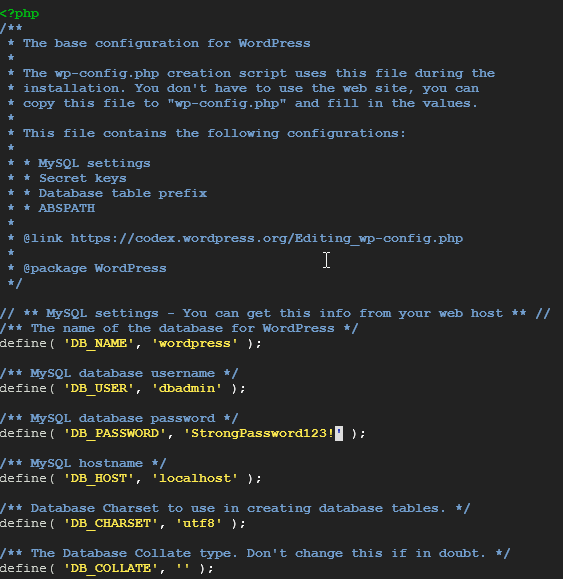
Also, add the following line as well. This will allow you to install, update and delete wordpress plugins with ease:
define('FS_METHOD', 'direct');
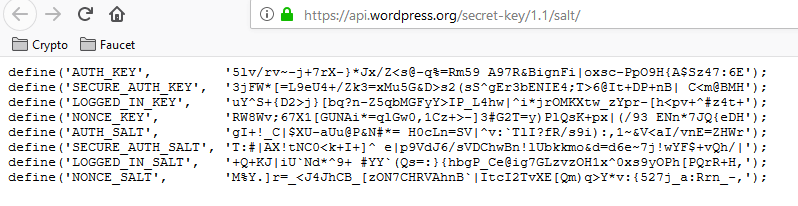
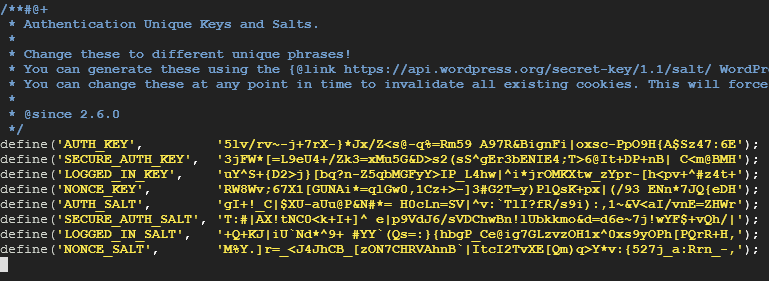
Next change the authentication keys. To acquire the keys, click on the url in the config file. It will open a new tab in your default browser with generated keys. Copy those to the config file.
After the changes, save the file. Next we need to rename the file:
sudo mv wp-config-sample.php wp-config.php
Now we can run the wordpress installation in the browser.

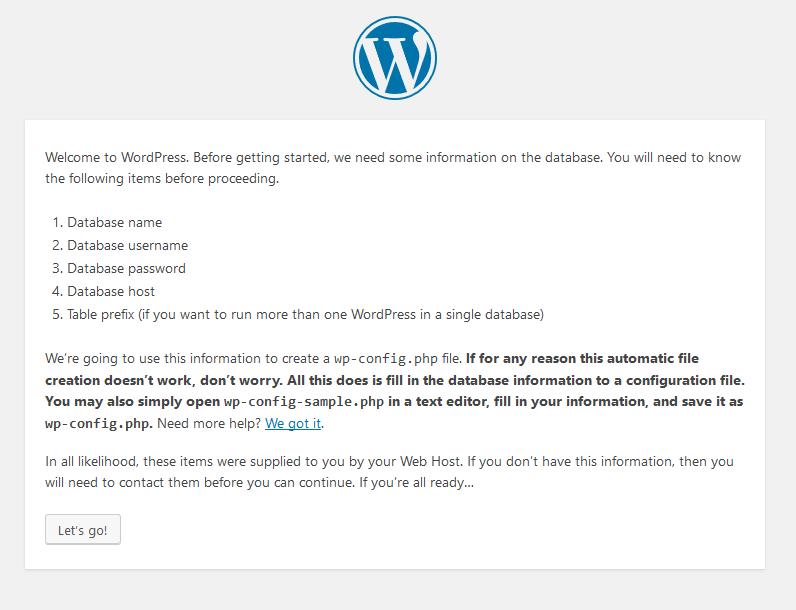
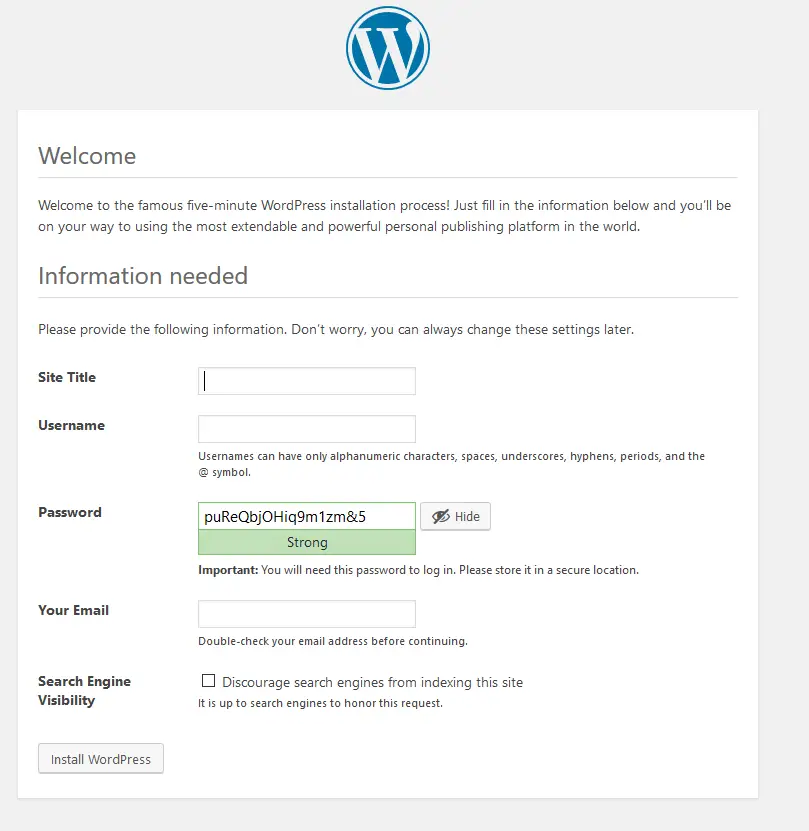
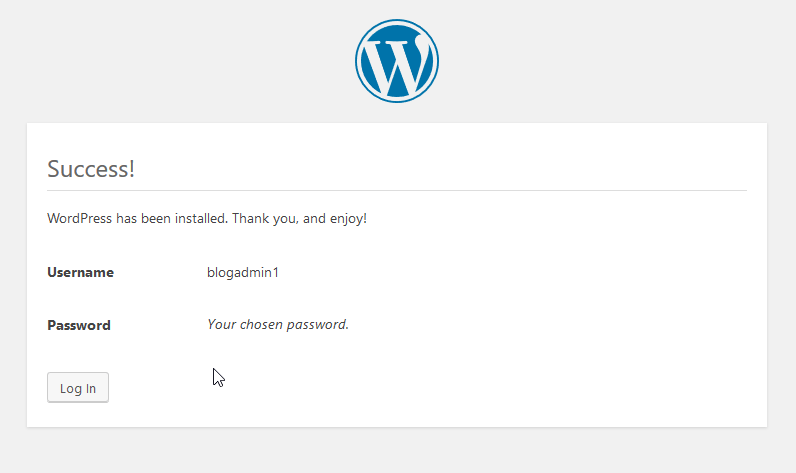
Complete the installation and you’re all set. The installation is complete.
if you experience permission issues during the installation, run these commands:
sudo chown -R www-data:www-data /var/www/html/\*

sudo chmod -R 755 /var/www/html/\*
Performance
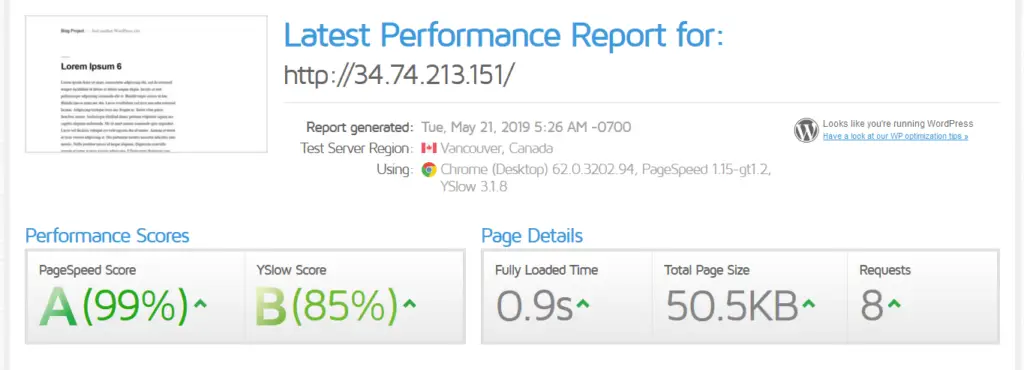
Performance is surprisingly good. At least, it will be until the site achieves exponential growth. I’ve run couple of performance tests. For this tutorial, i’ve created 10 posts each with 10 pictures(compressed), 5 pages and installed and activated 8 plugins, no cache plugins, no cache configuration, no optimization and no CDN. First, I’ve run couple speed test using GT metrix from USA locations, Europe and Canada. All tests averaged around 95% with page speed score A, which is good.
Also, with load impact tool and loader.io, I’ve run synthetic load test(simulated web traffic test) with 1 000 concurrent virtual users that were active for 10 minutes. Site was stable and there were no significant performance drops, but I did got a warning from google that the server ram was overutilized. So, for this scenario, cache is definitely required and a CDN as well, since the resource get used up very fast with huge traffic. Additionally, you can run configuration for the Apache for more performance(post upcoming), like mpm prefork etc, but I had much better results with nginx installed.
Words from personal experience(and some tips)
Setup for this solution runs Apache web server and that might affect the performance as well. Apache although a good and very popular web server, it’s resource heavy and it won’t be able to handle larger traffic in the future. If you want to squeeze out a bit more performance of this option and which can handle more traffic, you are going to need to reconfigure apache config file. Second option, there is a configuration with nginx server(you can check it here how to install wordpress with nginx).
It’s the same solution with google cloud and wordpress but this one runs on an nginx server. I prefer more nginx server. Not only it’s less resource heavy, it also performs better and can handle more traffic. Another thing you must take in the consideration is that if with time your site gains a lot of traffic, that will exceed the free tier plan and you’ll be charged by google for the provided web traffic. The cost will be minimal(in pennies and cents depending on the traffic you receive). T
hat’s why it’s a good suggestion to add a CDN to your site(Cloudflare for an example - it’s free for one website). Not only it will save you traffic, it’s an additional layer of security.
Summary
Let’s summarize what we have demonstrated in this article - we covered the steps on how to host wordpress on Google cloud free tier plan. We have deployed a VM with Ubuntu, installed LAMP packages and deployed our Wordpress site.
So, is it worth it to host a wordpress on google cloud free tier plan? To be clear, even though the solution is cost friendly, it’s not a perfect solution and not a long-term solution as well. Beside the fact it requires you to run the maintenance on everything by yourself, the resources are limited on the free tier as well and because of the limited resources, the server will not be able to handle the heavy site growth and a large visitor traffic. Eventually you will need to upgrade your hosting plan.
But, this option is a good starting point for someone who wants to learn and experiment with blogging on a budget, to test out how the site will perform. Also, this is a good option for static web sites.
I hope you found the article interesting and I thank you for your time.