How to install Jellyfin on Debian 11
Overview
The following article will demonstrate the steps on how to install Jellyfin on Debian 11. We’re going to demonstrate two steps on how to install Jellyfin on Debian. First will be focused on installing Jellyfin on Debian 11 by adding the Jellyfin repositories to the apt sources and installing it via apt(this will enable not just to install Jellyfin via apt package manager but also get the updates as well and manage the Jellyfin as a service).
Second step will be by downloading and installing the official “.deb” package.
Install Jellyfin on Debian 11
Install Jellyfin on Debian via apt
- First requirement is to have the following packages installed on your Debian machine:
- apt-transport-https, gnupg, lsb-release
You can install the with the following command:
sudo apt install apt-transport-https gnupg lsb-release
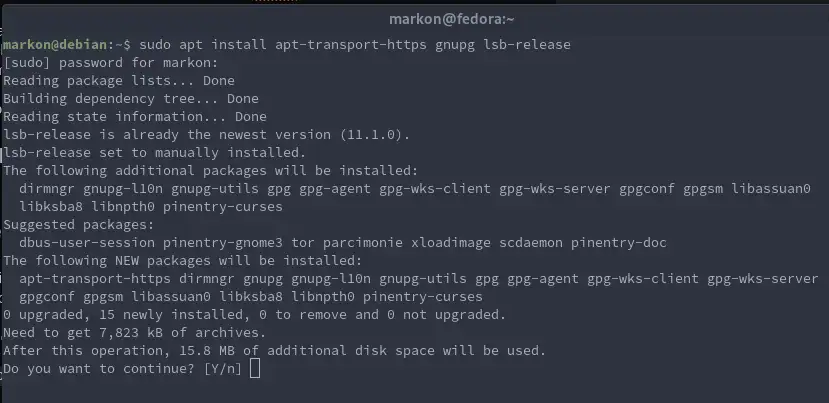
Necessary apt packages required for Jellyfin
- Second step is to add the official Jellyfin GPG key, Execute the following command to do add the key:
curl -fsSL https://repo.jellyfin.org/debian/jellyfin_team.gpg.key | gpg --dearmor -o /etc/apt/trusted.gpg.d/debian-jellyfin.gpg
- Last requirement is to add the Jellyfin repositories to the “apt” sources. The command for that will be:
echo "deb [arch=$( dpkg --print-architecture )] https://repo.jellyfin.org/debian $( lsb_release -c -s ) main" | sudo tee /etc/apt/sources.list.d/jellyfin.list
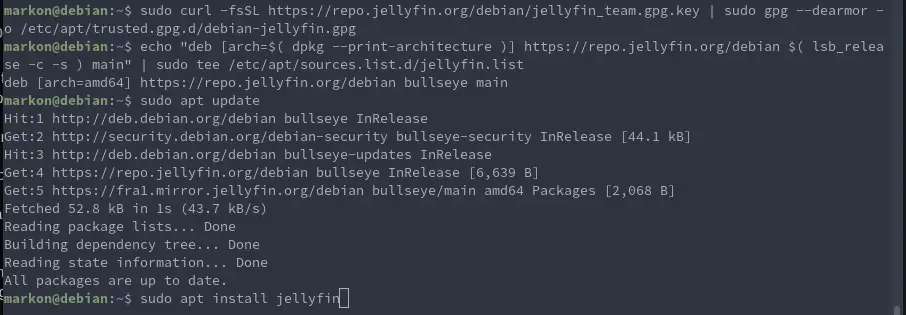
Adding GPG key and repository to the apt sources
After all the requirements are configured, update the “apt” package manager and you should be able to install Jellyfin.
sudo apt update
sudo apt install jellyfin
Once the installation is completed, the Jellyfin should be running, double check with the next command and if it’s not running, start the Jellyfin service:
sudo systemctl status jellyfin
sudo systemctl start jellyfin
Sudo systemctl enable jellyfin
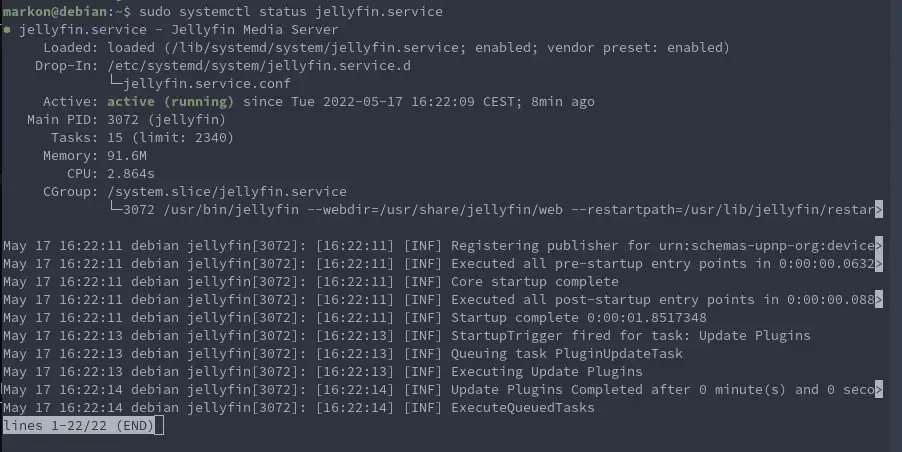
Jellyfin service running
Install Jellyfin on Debian using the official .deb package
Jellyfin is also available in the “.deb” package as well. To download it, follow the download link.
Download the version you require(Stable is recommended)
After you’ve downloaded the “.deb” package, we need to use the dpkg tool to install the “.deb” .Run the following command in order to install the Jellfyn:
sudo dpkg -i jellyfin_*.deb jellyfin-ffmpeg_*.deb
sudo apt -f install
This should also install the missing dependencies.
Access the Jellyfin web dashboard
After you’ve confirmed the Jellyfin is running, try to access it via web browser and start the initial setup. Jellyfin will listen on port “8096”. So, to access it, in your browser type in your server’s IP address followed with the port number:
http://your.servers.ip.address:8096
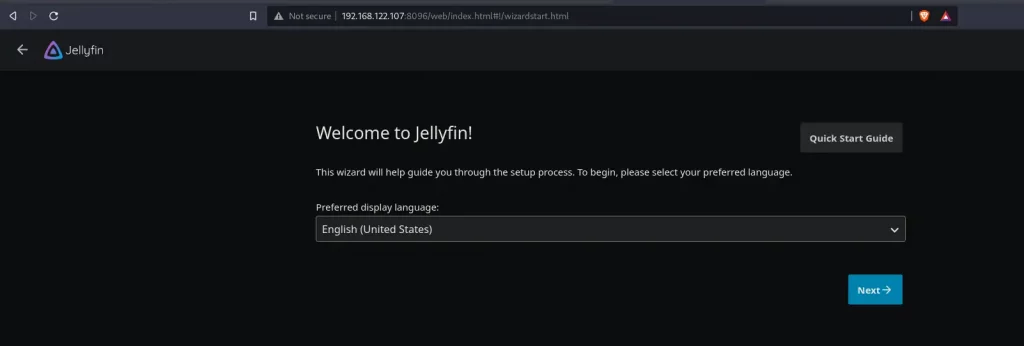
Jellyfin welcome screen
You should get a welcome screen right away.
Complete the initial setup. The setup wizard will walk you through. The Jellyfin will ask you to add a new user, a media library location.
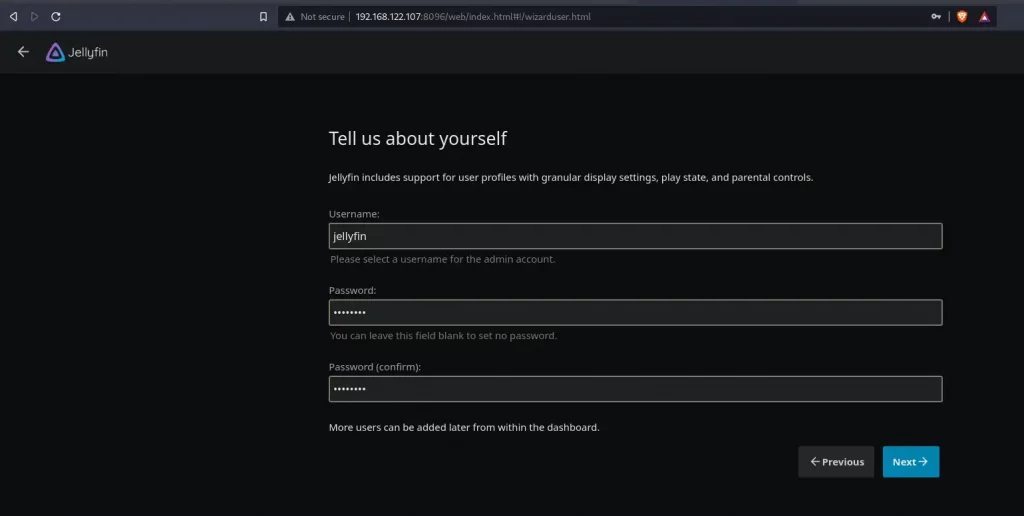
User creation for Jellyfin
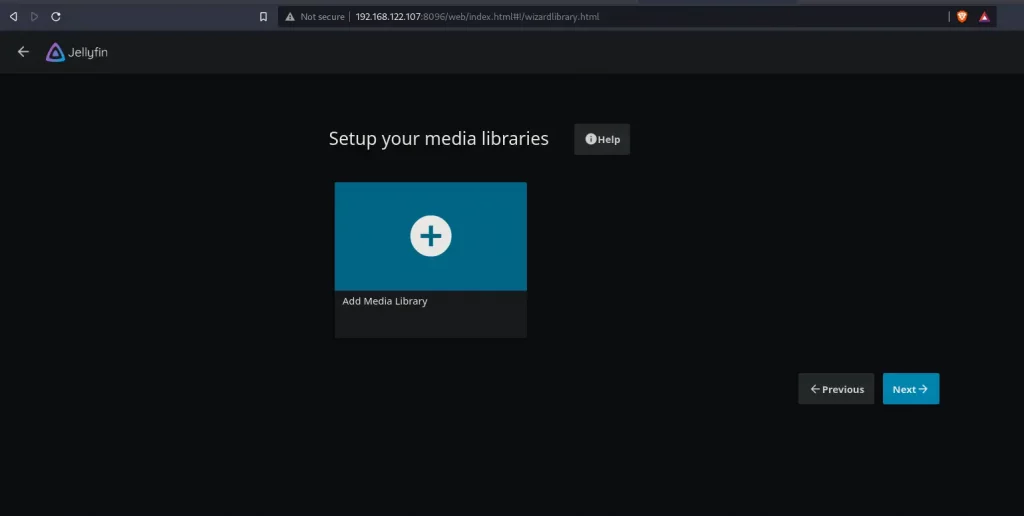
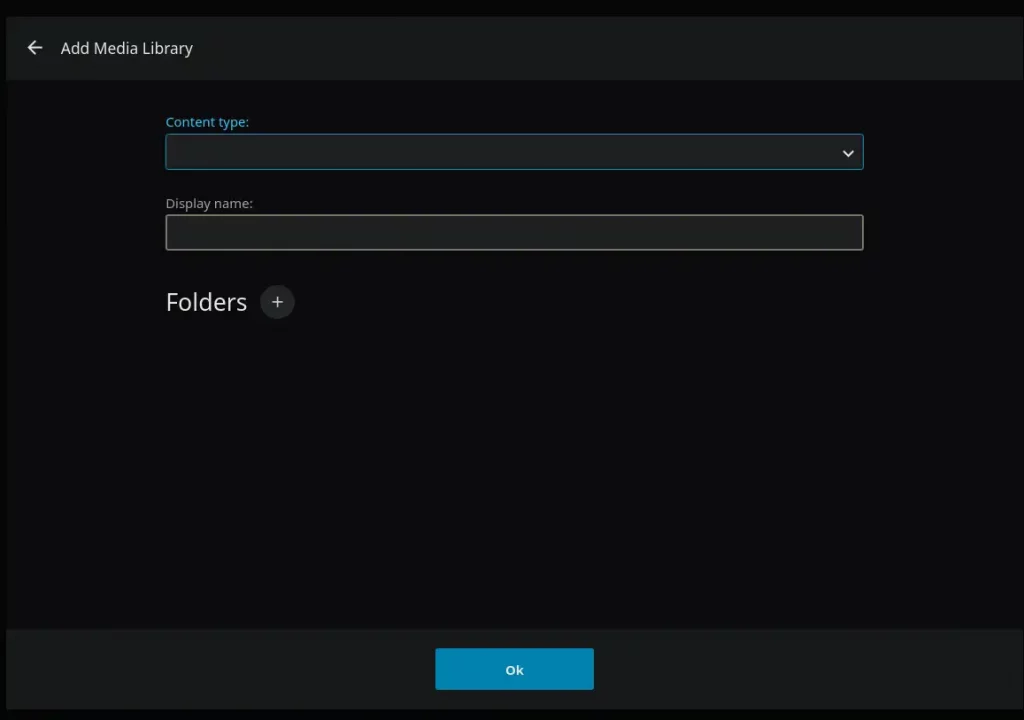
Adding media library location
Allow remote access for your and your users.
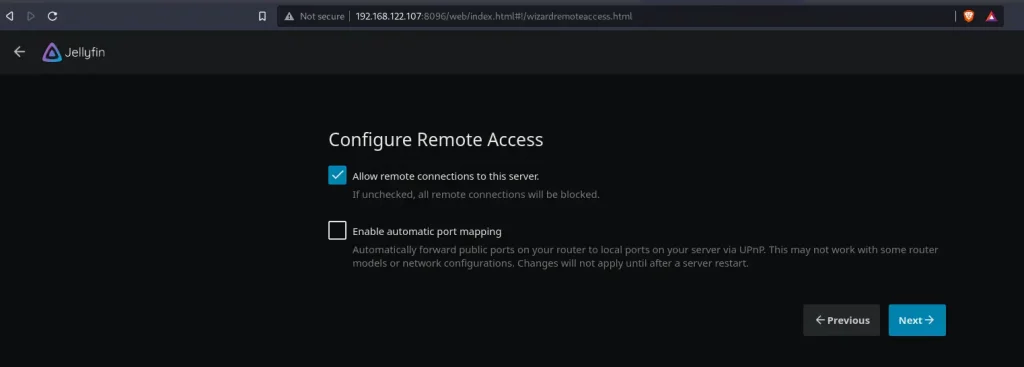
Remote access setup
Once you’ve added these, Jellyfin will redirect you to the login screen. Login with the new user you’ve created and you should access your dashboard.
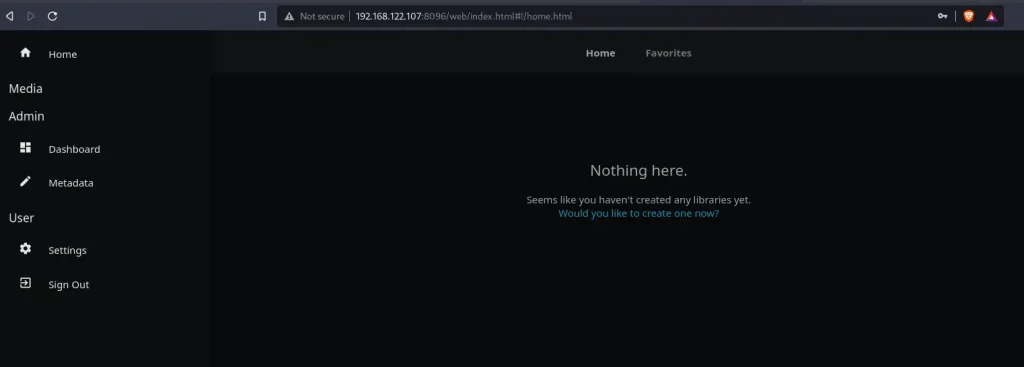
Jellyfin dashboard home page
Summary
To summarize the article - we went through the steps on how to install Jellyfin on Debian 11 and we covered two methods - how to install Jellyfin on Debian via apt(and adding the Jellyfin repository) and also how to install Jellyfin by using the “.deb” package.
Jellyfin is another good open source home media server solution which enables us to stream our home media to any device via our local network(can be configured to be fully remote and access your media even outside of your home network). You won’t go choose wrong by going with it and it has simple and intuitive design and user experience, meaning it’s simple to use too.
Thank you very much for your time…