How to setup Zabbix on Ubuntu 20.04
Overview
Zabbix is an open source monitoring solution for diverse IT components, including networks and network devices, virtual machines, servers, and cloud services. Zabbix provides monitoring metrics for most of the components, such as CPU usage, network utilization, RAM and disk space consumption, temperatures, etc. Software can monitor operations on Linux, Mac OS, Solaris, HP-UX natively, but for Windows monitoring usage of agents is needed. When set up, Zabbix web-based GUI enables users to view their IT infrastructure via a customizable dashboard, consisting of widgets, network maps, reports, etc. In this article we will cover the process how to setup Zabbix on Ubuntu 20.04.
Just to give a heads up - If you’re working with Zabbix for the first time, the install and setup process can take a while and has many steps. Zabbix is a great feature rich monitor solution with many advanced and enterprise options which requires time to setup everything and to your needs but it’s not the only monitoring solution out there. If for an example you only need to monitor resources and performance of a Linux server there’s a method using Grafana, Prometheus and Docker which is covered in this post.
Setup Zabbix on Ubuntu 20.04 - requirements and installation process
Step 1: Install LAMP stack
To install Zabbix, first we need to install LAMP stack, with some required PHP modules as follows. First we will run the apt update command, to make sure we have all latest updates installed.
After that is done, next we need to install Apache and PHP with some additional PHP modules.
apt install apache2 php php-mysql php-mysqlnd php-ldap php-bcmath php-mbstring php-gd php-pdo php-xml libapache2-mod-php
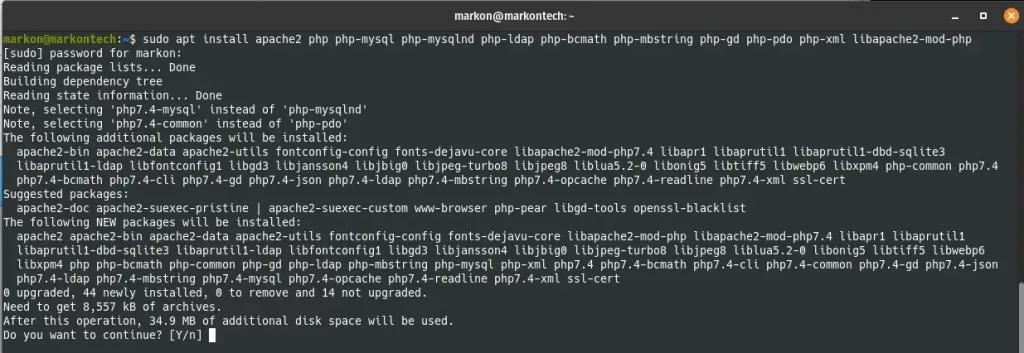
Installation process triggers system to automatically start Apache service and start it on system boot as well. We can check it with “systemctl status apache2” command.

Also, next 3 commands are useful for managing Apache service (and also any other services, just change the service name):
systemctl start apache2 – starts the Apache service
systemctl stop apache2 – stops the Apache service
systemctl restart apache2 – restarts the Apache service
Step 2: Install MariaDB
Zabbix needs to have some kind of database management for it’s data storage. It supports MySQL and MariaDB, but for this guide, we will set it up with MariaDB. First we need to install MariaDB server and client, and that’s done with “apt install mariadb-server mariadb-client command”.
apt install mariadb-server mariadb-client command

After MariaDB installation is complete, as with Apache, we will check if the service is started, with “systemctl status mariadb” command.
systemctl status mariadb
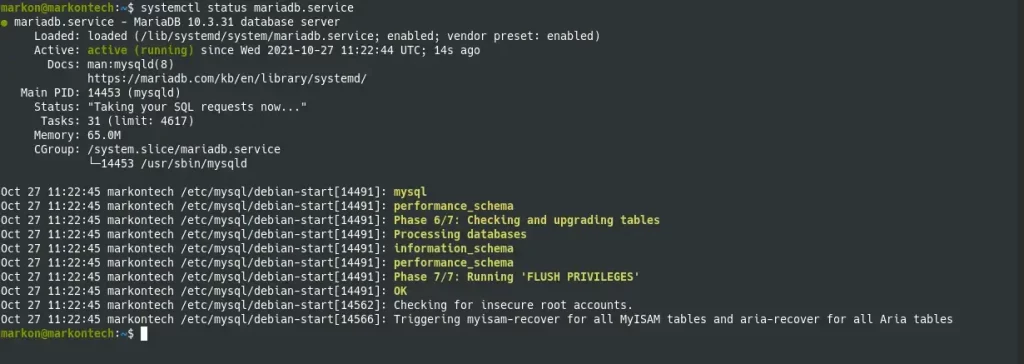
After we make sure service is up and running, we need to secure the database installation. It can be run with a script which is shipped with MariaDB installation.
We need to run “sudo mysql_secure_installation” and follow the recommended security configuration.
sudo mysql_secure_installation
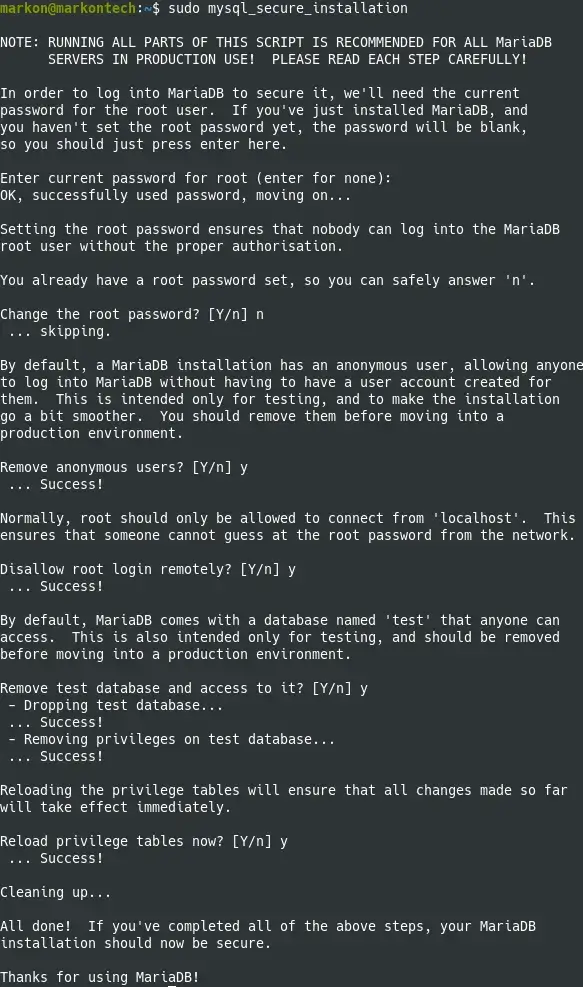
After that’s done, we need to create a database that Zabbix will use. First we need to log in to MariaDB shell with command - “sudo mysql -u root -p”.
Now we have access to MariaDB shell, and need to create the database. We will use following commands:
create database zabbix character set utf8 collate utf8_bin;
grant all privileges on zabbix.\* to zabbix@localhost identified by 'admin@monit1';
quit;
Step 3: Installing Zabbix
To install Zabbix we first need to add official Zabbix repository containing the latest Zabbix packages (5.4 at the moment). For that we will use following commands:
wget https://repo.zabbix.com/zabbix/5.4/ubuntu/pool/main/z/zabbix-release/zabbix-release_5.4-1+ubuntu20.04_all.deb
dpkg -i zabbix-release_5.4-1+ubuntu20.04_all.deb
apt update

After that we need to install Zabbix server, frontend and agent packages. Use the following command:
sudo apt -y install zabbix-server-mysql zabbix-frontend-php zabbix-agent
After the installation is complete, we will import the initial schema and data into the Zabbix database that we created before.
Use the following command to add the schema:
zcat /usr/share/doc/zabbix-server-mysql/create.sql.gz | mysql -u zabbix -p zabbix
In case that zcat cannot find schema to add, use apt install zabbix-sql-scripts command, and after th module is installed alter the zcat command to look like this:
zcat /usr/share/doc/zabbix-sql-scripts/mysql/create.sql.gz | mysql -u zabbix -p zabbix
After the schema is added, we need to edit the Zabbix server configuration to use database we created in previous steps. Use “sudo nano /etc/Zabbix/Zabbix_server.conf” command to open the command file so we can edit it. We need to find following configuration options and change them so they reflect our database settings.
Important changes are:
DBHost=localhost
DBName=zabbix
DBUser=zabbix
DBPassword=admin@monit1
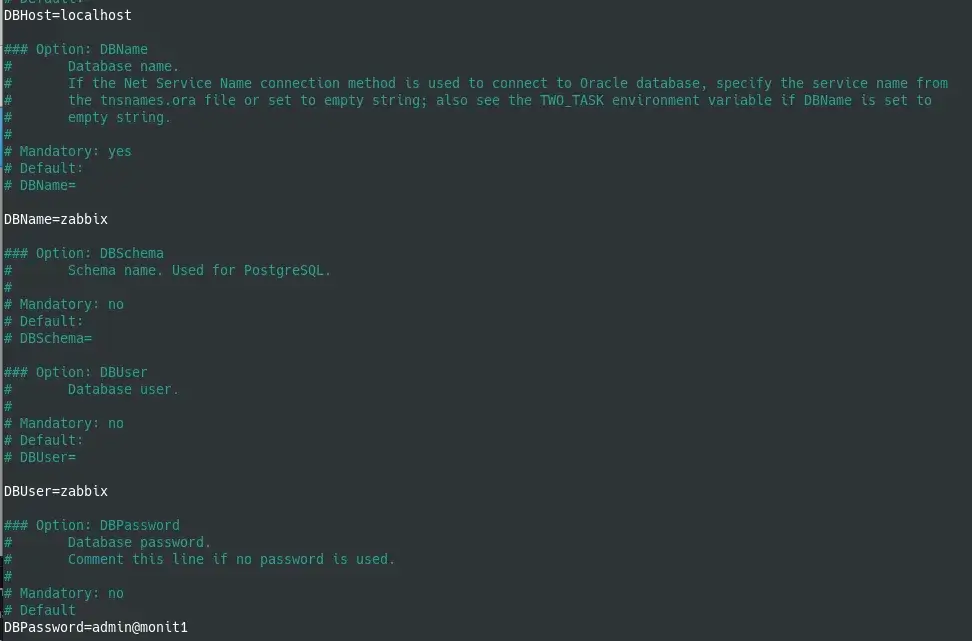
Un-comment the DBHost=localhost line
Un-comment and change DBName line
Un-comment and change DBUser and DBPassword lines and save the file with Ctrl+O.
After this restart Apache service once again with systemctl restart apache2 and after that start and enable auto-start of Zabbix server and agent processes. Use following commands for that:
systemctl start zabbix-server zabbix-agent
systemctl enable zabbix-server zabbix-agent
Step 4: Firewall configuration
Last step before accessing Zabbix web GUI is to open ports 80 and 443 to allow Apache server traffic. We will do it with following commands:
UFW Firewall
ufw allow 80/tcp
ufw allow 443/tcp
ufw reload
Iptables firewall
iptables -A INPUT -p tcp --dport 80 -j ACCEPT

iptables -A INPUT -p tcp --dport 443 -j ACCEPT

or

iptables -I INPUT -p tcp --dport 80 -j ACCEPT

iptables -I INPUT -p tcp --dport 443 -j ACCEPT
Step 5: Apache configuration
Now we need to configure Apache, but first we need to download Zabbix Apache config module. We will use following command
apt install zabbix-apache-conf
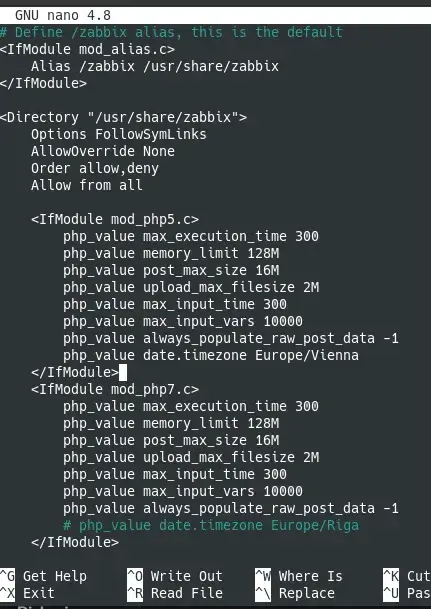
After module is installed, we need to reload Apache service with “systemctl reload apache2”. After service is reloaded we will need to edit apache.conf file, to declare the time zone used. That is done with:
nano /etc/Zabbix/apache.conf
After we have defined the time zone, we can proceed to Zabbix Web GUI to complete installation. We access GUI with localhost/Zabbix or with http://ip-address/zabbix via local network and that will take us to start page for installation.
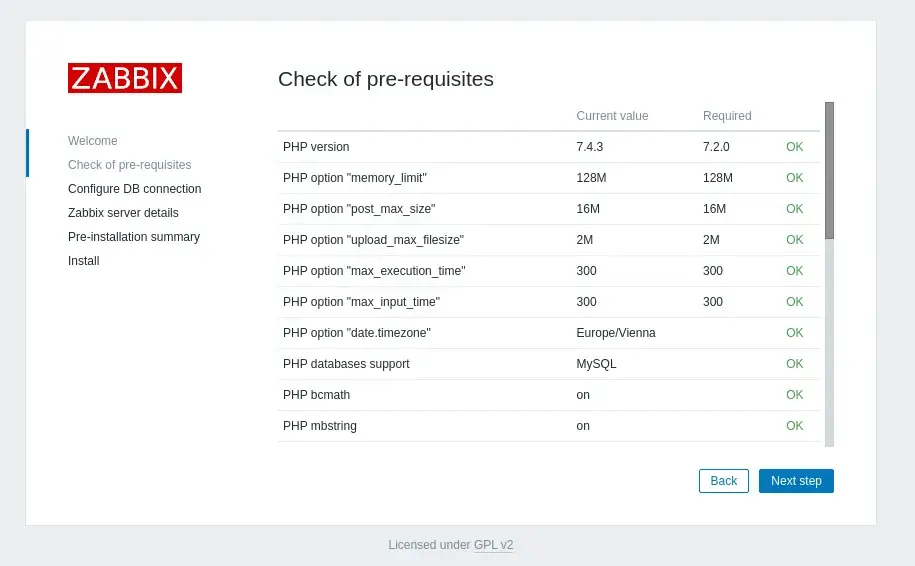
After we chose the required language and click Next, it will take us on next page where it will check prerequisites for installation.
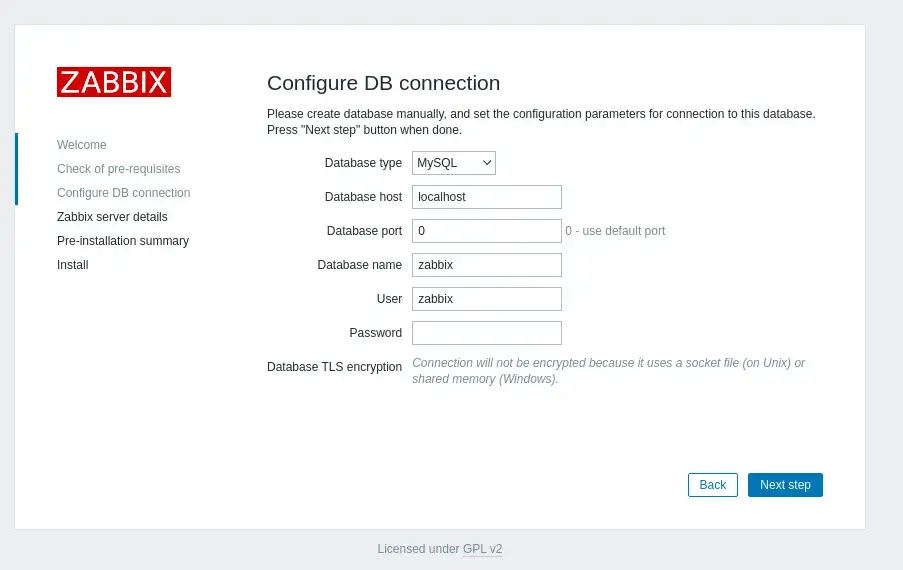
After we click on Next Step, we need to configure DB connection, with data used when we created Zabbix schema. We use localhost as database host, Zabbix as database name, Zabbix as username, and admin@monit1 as password.
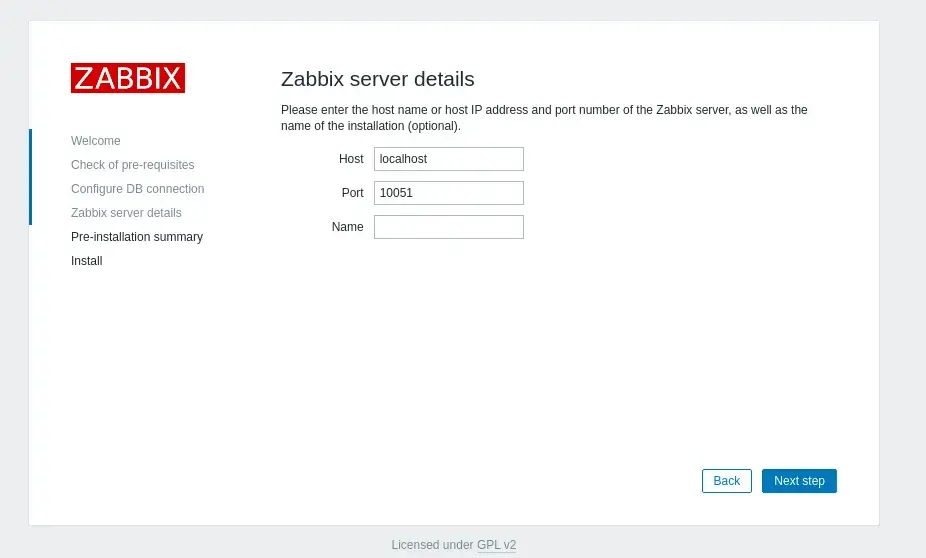
After that, when we click on next step, it will take us to Zabbix Server Details page, where we need to define Host name or IP address, and name of Zabbix installation (this field is optional).
When we click on Next Step we will get to define time zone (it already got the timezone from apache.conf file which we changed before) and theme for Zabbix GUI.
After clicking on Next Step we get to review all configuration so far, before we start the installation.
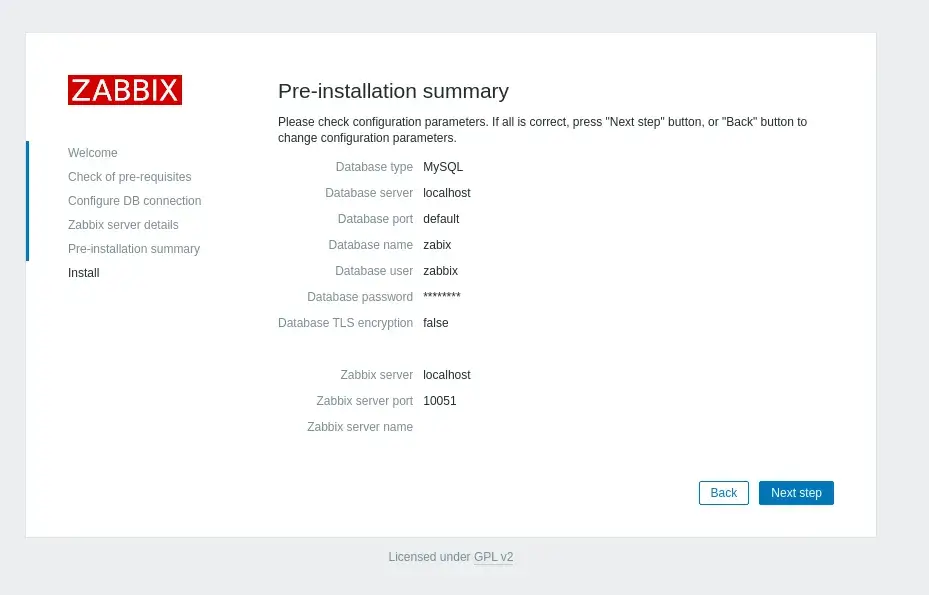
If everything is as it should be, we can complete the installation. The installation will return a screen with a congratulations message. And this was the process how to install Zabbix on Ubuntu 20.04.
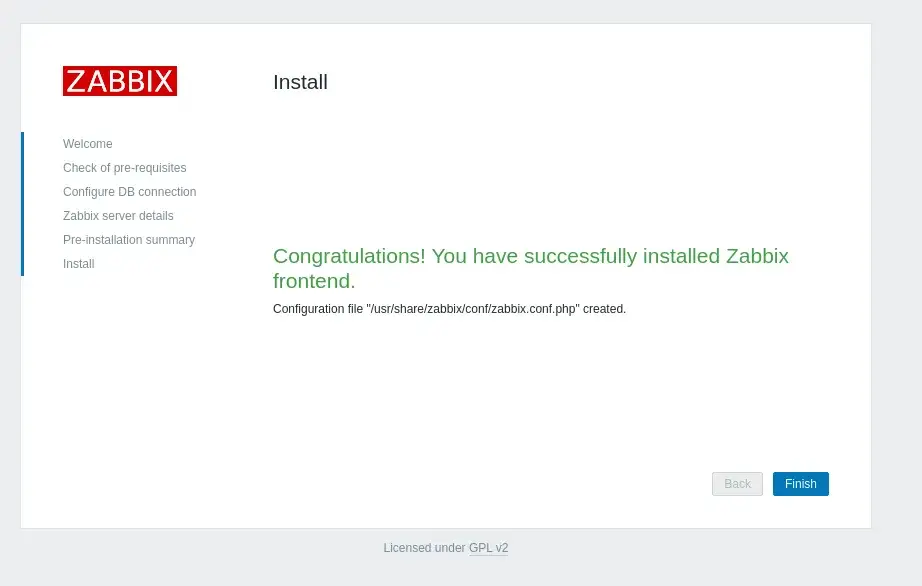
After that we will be sent to the login page for Zabbix monitoring, there we use Admin as username, and zabbix as password.
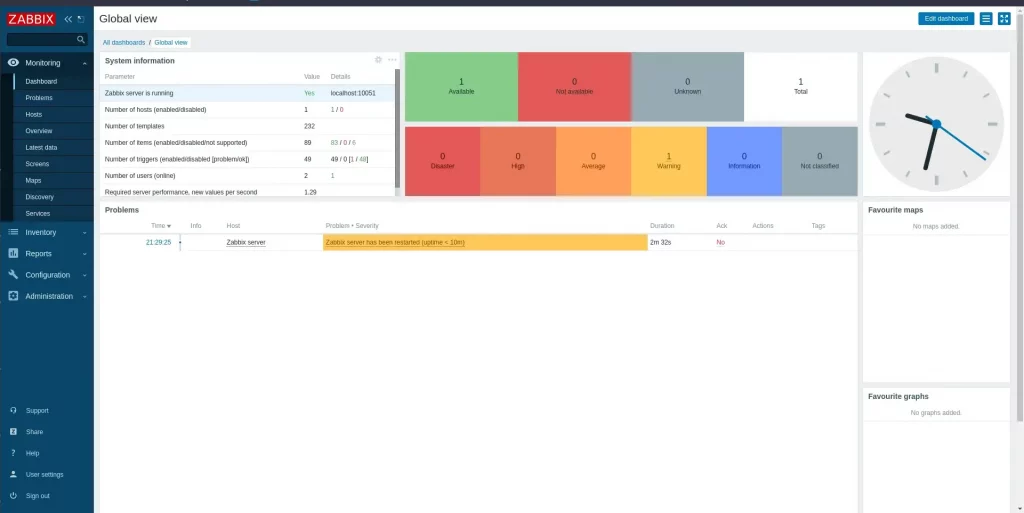
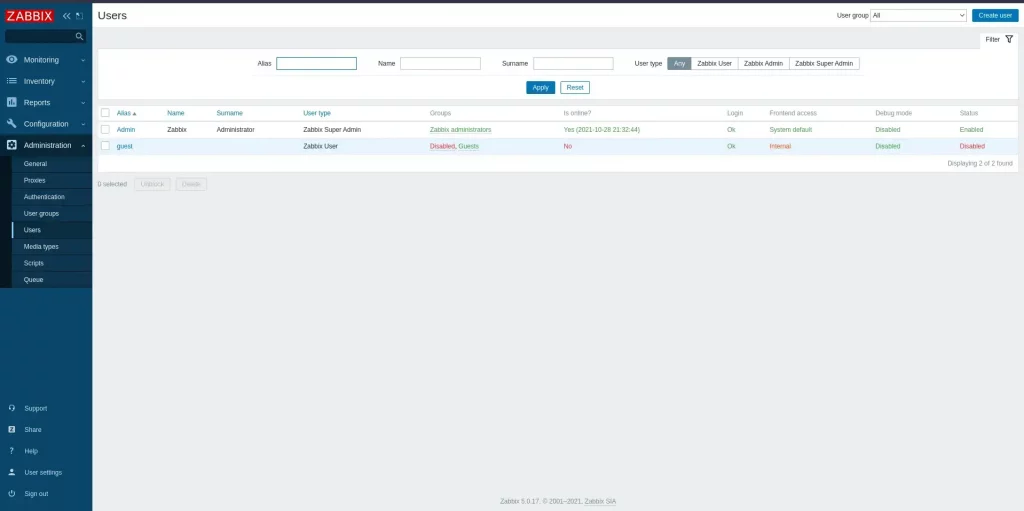
Before you continue exploring and configuring Zabbix, it’s important to either create a new user with admin privileges, or change a default password for Admin account. You do it by going to Administration->Users and there you change the password, or create a new user.
Summary
With the steps we went through we were able to setup Zabbix on Ubuntu 20.04. The process is, you maybe noticed, a lengthy one and can take time to set it up and configure Zabbix but it comes with many enterprise grade features which are most useful. For an example, Zabbix support SNMP protocol and can do the monitoring with the same protocol and can monitor network devices as well and many more.
Thank you very much for your time…

