How to install Webmin on Debian
Overview
This post will cover the procedure on how to install Webmin on Debian(this procedure works on Debian 10 and on Debian 11 as well). This method can also be applied on earlier versions of Debian( like 9 and 8) and on other Debian based distros such as Ubuntu. Webmin is a web based system configuration and management tool for Unix based systems. Meaning, that with it you can do the management on all your Linux servers.
It’s robust, powerful and with a lot of features. It also became a quite good open source alternative for cPanel, since not only it can do user administration, package management, networking configuration and performance monitoring but also it can manage web servers. Because of all that, it’s a powerful tool for system administrators and web masters.
We also covered the process of install Webmin on CentOS 8, which you check out here - LINK
Some Webmin use case scenarios
If you plan to have a cloud server(whether that be on AWS, Digital Ocean, Google Cloud or Upcloud) on which you intend to host multiple websites, then Webmin could be a good solution for you. You can also do the same on your local network. Another great Webmin feature - if you have multiple different machines(physical and VM) and they are all on the same network, you can register multiple servers on the Webmin and manage all of them from a single Webmin dashboard.
Install Webmin on Debian
Webmin installation
There are two ways to install Webmin on your server. One is installing it with a .deb package(which you can download) and the other way is from APT repo(which you need to add additionally). We are going to cover both of those methods.
Installing Webmin on Debian with a .deb package
First what we need to is to install all necessary packages that Webmin uses, otherwise Webmin won’t install. Bellow you can see an error that will show up if the packages are not installed:
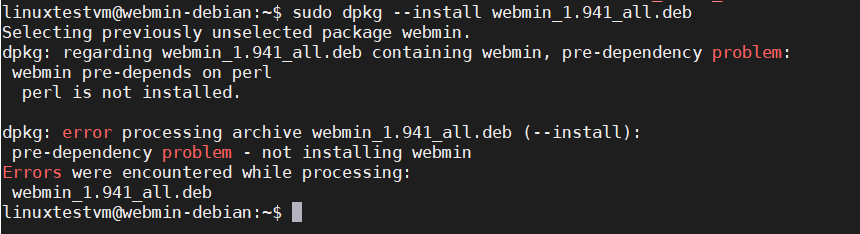
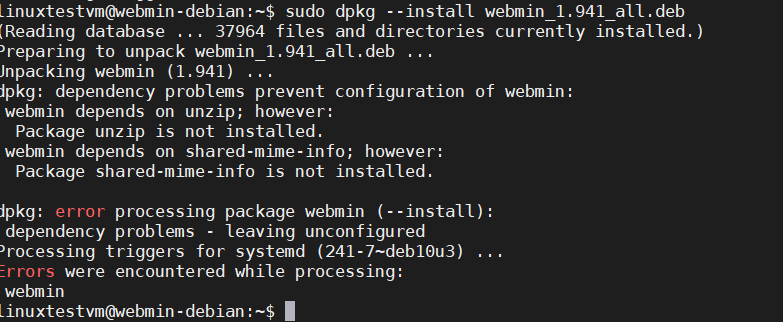
Comands to install packages:
sudo apt install perl libnet-ssleay-perl openssl libauthen-pam-perl libpam-runtime libio-pty-perl apt-show-versions python

sudo apt install unzip shared-mime-info
Then download the .deb package:
sudo wget http://prdownloads.sourceforge.net/webadmin/webmin_1.941_all.deb
If you’re missing the wget tool, install it with the command bellow and try again:
sudo apt install wget
Once the package is downloaded, install the Webmin:
sudo dpkg --install webmin_1.941_all.deb
NOTE
When installing the .deb package, check first the Webmin website for the version number. In the package name, they write the version number of Webmin and they post the latest stable release to download, meaning that overtime the package version stated above in the post, could change.
Installing Webmin on Debian from APT repo
If you want to install Webmin on the server via APT as a package, first we need to add the repository to our sources list. Open the sources list with this command:
sudo nano /etc/apt/sources.list
and add the following line at the bottom of the sources list:
deb https://download.webmin.com/download/repository sarge contrib
Save the sources list and exit. Next step is to add the GPG key:
cd /root
sudo wget https://download.webmin.com/jcameron-key.asc
sudo apt-key add jcameron-key.asc
And now we can install the Webmin:
sudo apt install apt-transport-https
sudo apt update
sudo apt install webmin
After the installation is complete, you’ll get a result like this:

And then we can access the Webmin dashboard.
ANOTHER NOTE
Webmin is configured by default to listen port 10000, so on your server, if you have a firewall running, you must allow http and https traffic for port 10000. In the next paragraph we’ll cover the steps for the ufw and iptables firewalls on your server. Also, for the cloud server, you need to configure a firewall rule to allow traffic on the same port in your cloud provider settings(If your cloud provider has a firewall enabled for your server).
Firewall settings for Webmin
If you’re running a firewall on your server(and you should), you need to configure it to open port 10000 and allow http and https traffic on it. We’ll cover the steps for the ufw and iptables firewall.
iptables config:
Run the command:
sudo iptables -A INPUT -p tcp -m tcp --dport 10000 -j ACCEPT
sudo iptables -A INPUT -p tcp -m tcp --dport 80 -j ACCEPT
sudo iptables -A INPUT -p tcp -m tcp --dport 443 -j ACCEPT
ufw config:
Run the command:
sudo ufw allow http
sudo ufw allow https
sudo ufw allow 10000
Access the Webmin dashboard
When the installation was done, it showed in the terminal output how to access it, but that’s not the case because it shows the URL the Webmin generated from the hostname of your server.
To access the Webmin dashboard - on a cloud server, in the URL address bar, we’ll type the public IP address which the cloud provider has assigned for the server, followed with the port number. Example shown bellow:
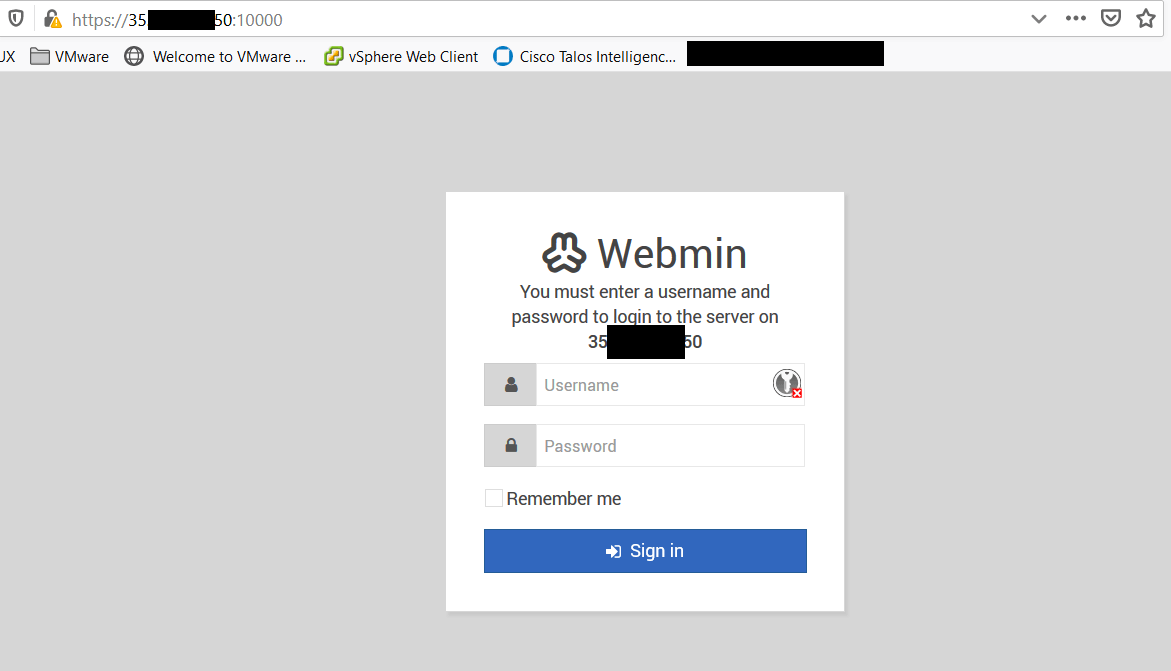
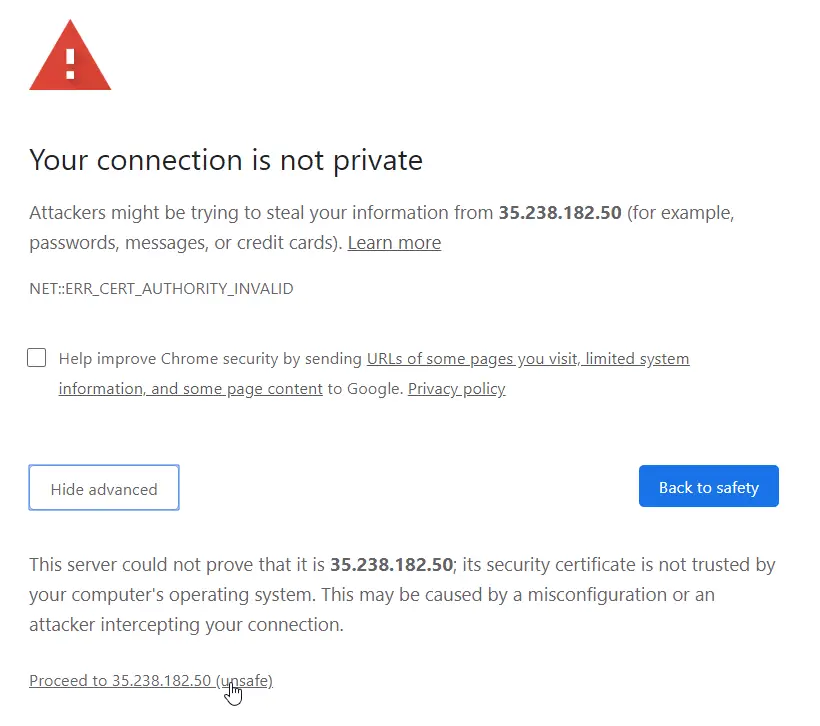
For the local network, the process is the same - use the IP address you assigned to your server. The first time you access the dashboard, you’ll get a potential security risk prompt from the browser. That’s because the Webmin uses a self signed SSL certificate, when you install it the first time. Later on, you can install another SSL certificate. Right now, go ahead add the security exception and continue.
For the login, you use your server’s root account or any other user account you have which has sudo privileges.
Recommended steps
What is worth mentioning when using Webmin is - access to the dashboard must be protected with strict measures. That is, when you install Webmin on a cloud server. When you open the port 10000 on the firewall and allow traffic, you’re then exposing the Webmin to the internet and probably to malicious attacks and potential threats. So, 2FA(two factor authentication) is a must - I highly suggest it.
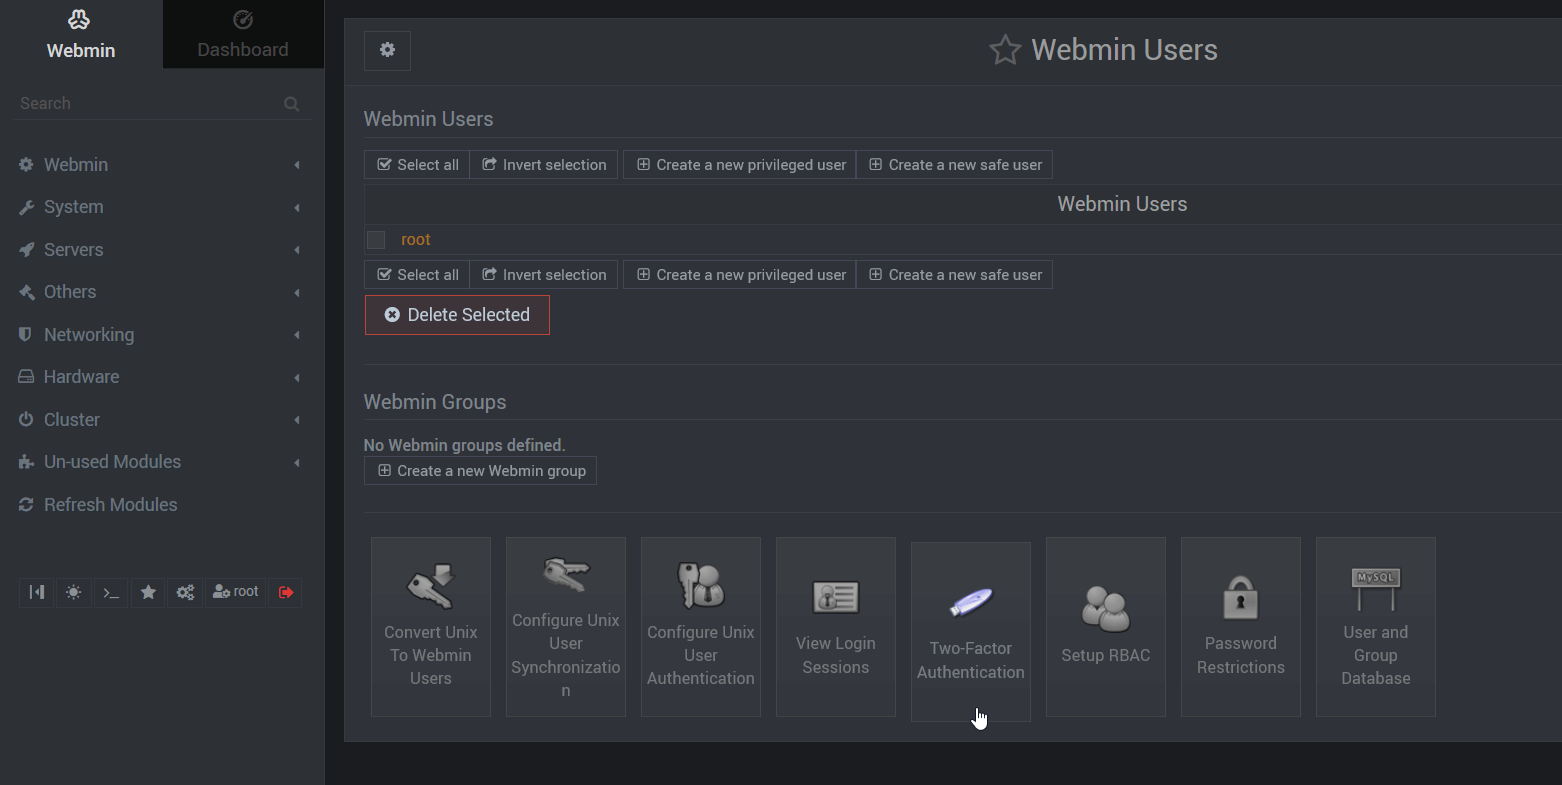
Another thing - Webmin by default, acquires and uses root account and accounts with sudo privileges. Reason for that is it needs to run as root or have sudo privileges in order to be able to run all tasks. Same as you run sudo in terminal. Because of that, another recommended step is to either disable root login on Webmin or remove it entirely and then just use account with sudo privileges or create a new webmin account.
Summary
This was the procedure on how to install Webmin on Debian. We covered both methods to install Webmin on Debian with a .deb package and also via APT repository. We covered the procedure with the firewall configuration and how to access Webmin dashboard.
Thank you for your time.