How to install GNS3 on Linux Desktop
Overview
We are going to cover the procedure on how to install GNS3 on Linux. Let’s first review. GNS3 is a powerful network software emulator. It’s used to run and test network simulations, same as Cisco Packet Tracer. It does come with a bit more advanced features unlike Cisco Packet Tracer. I myself, use it for some time. It is open source and free to download and use. You just need to create an account on their website in order to access the software and other software related add-ons. For the process bellow, account is not necessary. On this post we will go through the steps of installing the GNS3 on various Linux distros, such as - Debian, Ubuntu, Fedora, Arch etc.
If you’re wondering how to install Cisco packet tracer and how it work - check it this post.
How to install GNS3 on Linux Desktop
Install GNS3 on Ubuntu/Linux Mint
Once you create the account, go to download section. The site will prompt you for which system do you want to download GNS3(GNS3 supports all major OS-es). When you choose to download for Linux, it will not start downloading. It will redirect you to another page on which are instructions how to install GNS3 from packages on your Linux machine.
There are many methods listed for many Linux distros, including Docker versions(those are optional), but if you just need to run GNS3 locally and start right away, commands from bellow will suffice.
Installation commands to install GNS3 on Ubuntu and Ubuntu based distros, such as Linux Mint:
sudo add-apt-repository ppa:gns3/ppa
sudo apt update
sudo apt install gns3-gui gns3-server
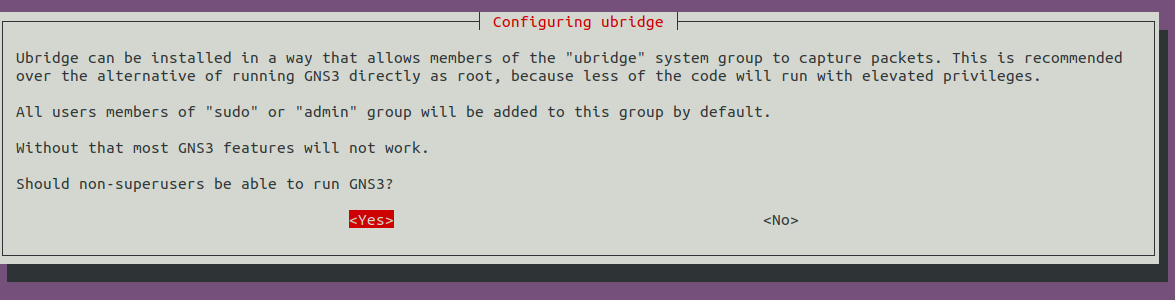
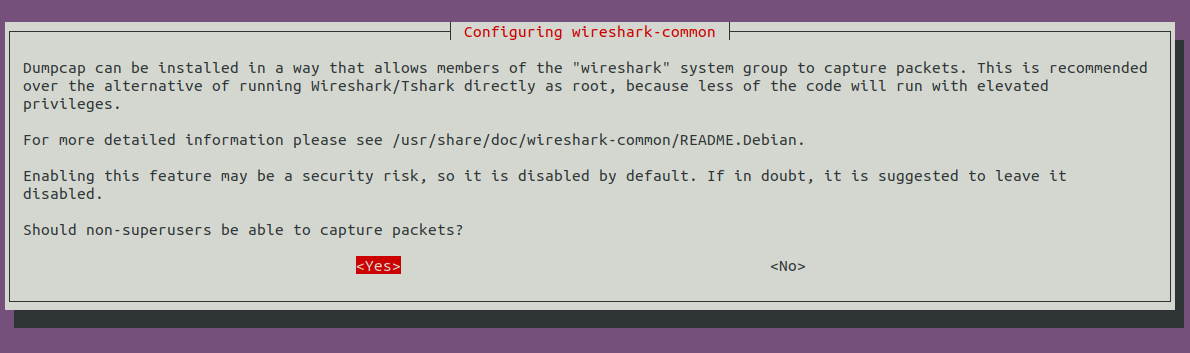
During the install process, the installation will prompt you whether non-root users should be allowed to use wireshark and ubridge. Go with ‘Yes’ both times.
Install GNS3 on Debian
Installation process for Debian distros is a procedure unlike when you install it on Ubuntu.
For Debian Jessie or Debian 8:
Before running any install commands, first we need to add couple of new sources in the /etc/apt/sources.list. We can do this with a text editor. Run this comand:
sudo nano /etc/apt/sources.list
then add these two lines and afterwards run the install commands:
deb http://ppa.launchpad.net/gns3/ppa/ubuntu trusty main
deb-src http://ppa.launchpad.net/gns3/ppa/ubuntu trusty main

sudo apt-get update
sudo apt-get install -y gns3-gui gns3-server
For Debian Stretch or Debian 9, the procedure is the same as for Debian8 just add these lines in the sources list:
deb http://ppa.launchpad.net/gns3/ppa/ubuntu xenial main
deb-src http://ppa.launchpad.net/gns3/ppa/ubuntu xenial main
For Debian Buster or Debian 10 and Debian 11:
Run these install commands:
sudo apt update
sudo apt install -y python3-pip python3-pyqt5 python3-pyqt5.qtsvg \\
python3-pyqt5.qtwebsockets \\
qemu qemu-kvm qemu-utils libvirt-clients libvirt-daemon-system virtinst \\
wireshark xtightvncviewer apt-transport-https \\
ca-certificates curl gnupg2 software-properties-common
Install GNS3 on Arch
To install GNS3 on Arch, just run the install commands:
yaourt -S gns3-gui gns3-server
One note - the Arch version of GNS3 is maintained by third-party and not officially by GNS3
Install GNS3 on Fedora
Starting from Fedora 24, the GNS3 are in available in the official Fedora repositories and GNS3 can be installed with an install command:
dnf install gns3-server gns3-gui wireshark wireshark-qt
Also, the Fedora version of GNS3 is maintained by a third-party.
Installation and setup wizard
Once you start installing the software, the installation could prompt you to allow other non-sudo users on the machine to be able to run the GNS3 with it’s features. I just go with Yes and allow it, since I’m the only who uses it.
Another prompt that could show up is for the Wireshark sudo permissions. Wireshark software comes with GNS3 as well. This prompt is asking if non-sudo user should have access to Wireshark and be able to capture packets.
After this, it’ll take a minute for the installation to finish.
GNS3 setup wizard
The first time you start the GNS3, it will first run it’s setup wizard. As you can see bellow, it’s asking you for three options how it will run on your machine. GNS3 consists of a client app and a server. If you want to run everything on your machine, select the second option - Run appliances on my computer.
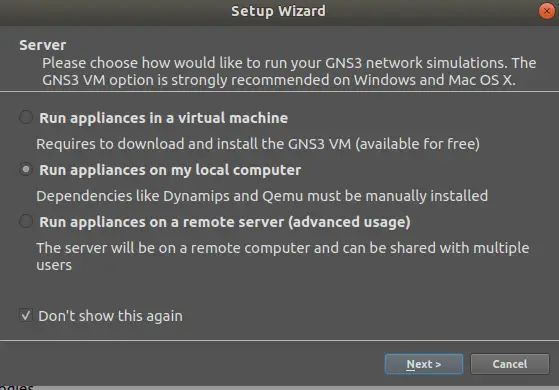
You can also run appliances in a VM(first option). That’s a setup where you run the GNS3 server on a virtul machine. Last option, to run appliances on a remote server, requires a bit more setup. As the options implies, this a setup where you run a remote GNS3 server and on your PC you only have the client app. For now, where are sticking with the second option and running everything from the same PC.
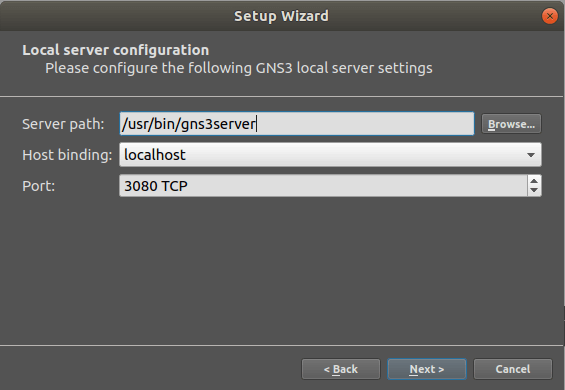
This is the configuration for the local server. You leave everything as is by default. If by any chance the mentioned TCP port above is occupied by some other app on your PC, you’ll need to change the port number. Otherwise, the GNS3 won’t start. After this, the setup will finish and then you’ll have a window like in the picture bellow.

Worth mentioning also. On the right side of the GN3 window, there’s a server summary window. It displays the server status and it needs to have a green indication. That means that the connection is successful and you’ll be able to work in GNS3.
Summary
We covered the installation process of GNS3 on various Linux distros. One also probably important information to mention. GNS3 doesn’t come with routers pre-installed. You’ll need to add routers manually by yourself. GNS3 uses real .bin firmware images for routers, like Cisco IOS has for an example. So, you need first to acquire those, and load it in GNS3. Apart from that, you use GNS3 right away and it does come with switches, servers etc.
Thank you for your time.