How to dual boot Manjaro and Windows 10
Overview
In this post we will cover the process how to dual boot Manjaro and Windows 10. We are going to use a setup were it will have one HDD, Windows 10 already installed, manage partitioning for the Manjaro installation and in the end have Manjaro alongside Windows 10 and dual boot setup. We will be dual boot Manjaro version 18 and Windows 10. In this example, we’ll show you one of the most simple ways to install Manjaro and dual boot with Windows 10.
It is strongly advisable, before proceeding with these steps, backup you system just in case. Also, check your system does it boot in EUFI or in Legacy mode and create the bootable USB to match your PC boot mode.
Requirements:
- Manjaro bootable USB.
- Free space on HDD
Creating a partition for the Manjaro
First we start with creating a partition for our Manjaro Linux installation. In Windows 10 the process is quite simple. Windows 10 has it’s own built in tool to partition disks, which we are going to use. Besides this, there a lot of good and free tools to do this, that can be found online(easeus partition manager, minitool partition wizard - both are free).
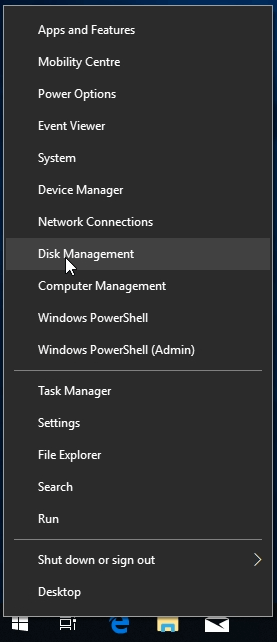
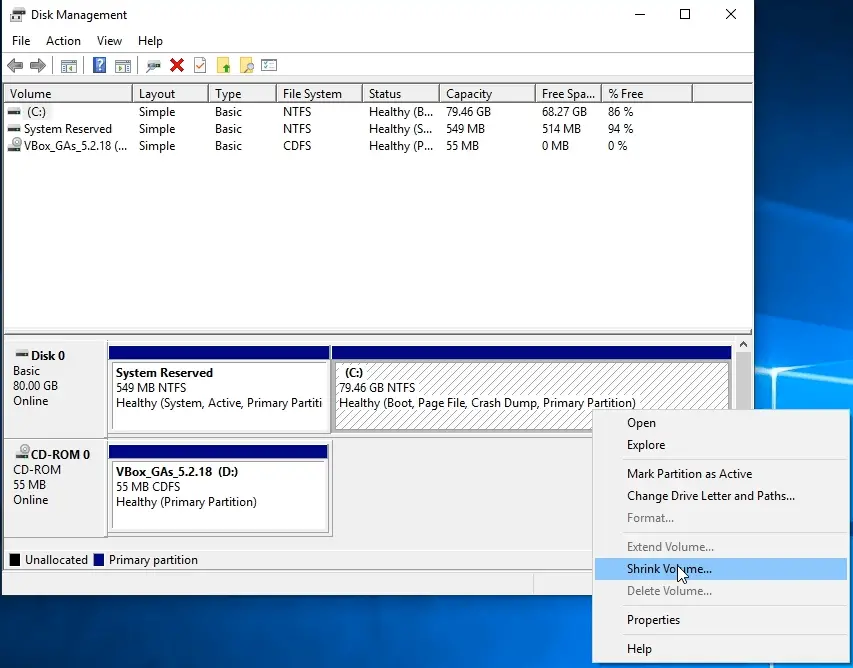
So, right click on the Start menu and click on the disk management. When the disk management window opens, on the bottom of the window, all HDDs in your system are going to be displayed. Right click on the partition with the letter C on it(aka your primary Windows partition) and click on the option Shrink volume. We will use that partition and split it in order to create a new partition.
When you click the shrink volume, a prompt wizard will start. Click on Next. Next window will have couple of options. We need the option - Enter the amount of disk space to shrink in MB. In that field, enter the amount of disk space for the new partition and enter that number in MB(megabytes). For an example, we will create a new partition that will have 30 GB of disk space, so we will enter 30 000 MB. If you want, you can create partition with larger disk space capacity, over 30 GB if you need. But take note, you need to have enough of free space on your HDD in order to create a new partition.

When you enter the size for the new partition, click on the button - Shrink volume. The tool will perform the operation very quickly. When it’s done, you can close the disk management tool. After that, go ahead, insert your Manjaro bootable USB, restart the PC and boot the installation.
Running the Manjaro installation
This is Manjaro boot menu. We will use to boot live session of Manjaro, so select the option - Boot: Manjaro. The boot process will take a minute or two.

When Manjaro boots up - start the installation. On top right corner there’s an icon - Install Manjaro. Click on it.
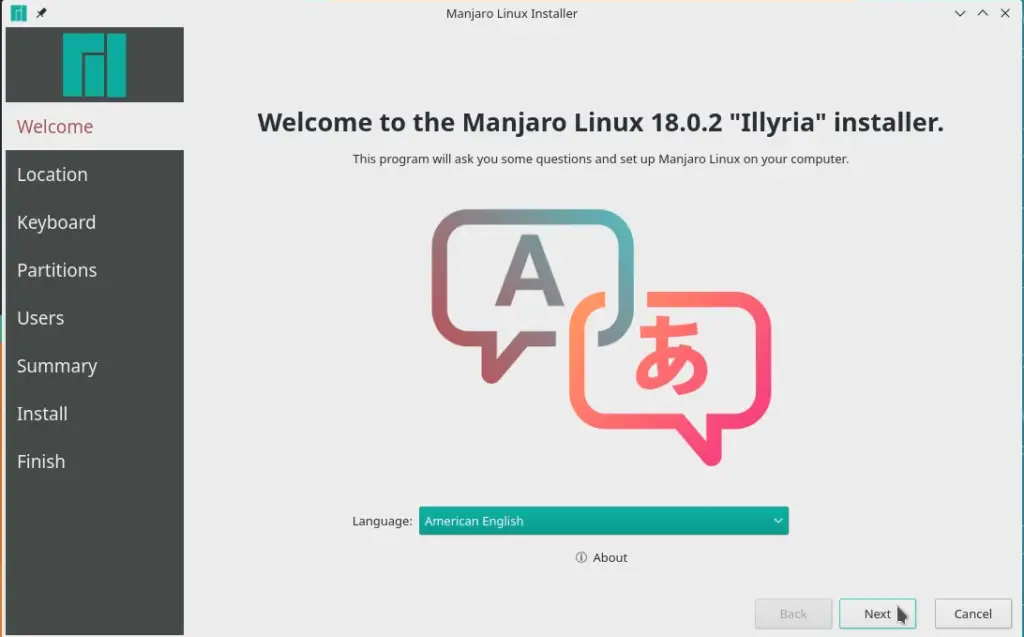
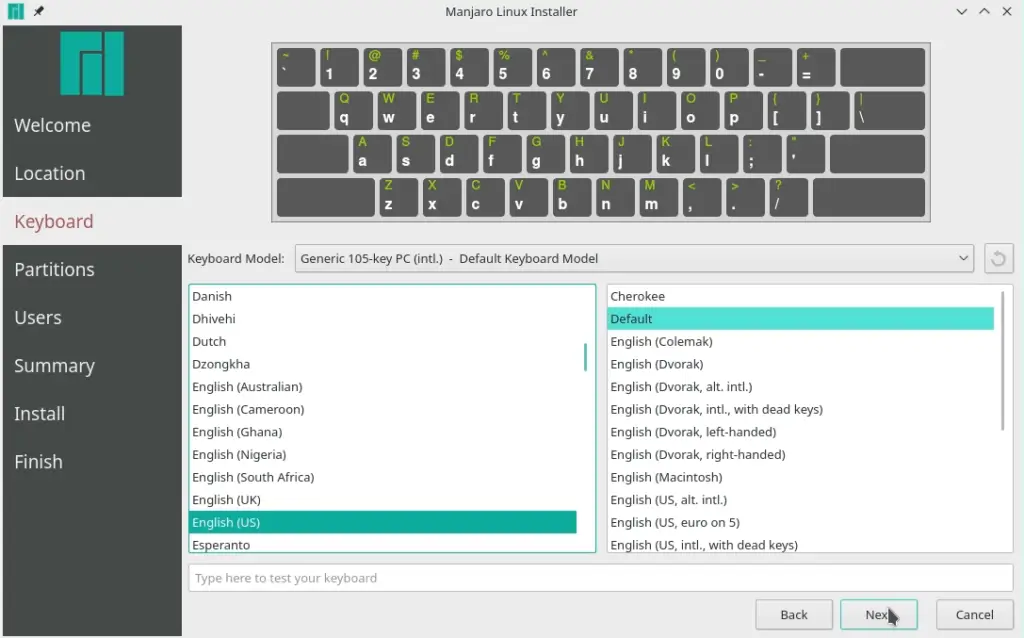
The first couple of screens will prompt you for the basic info - Your location, system language, keyboard language and layout. I left for the system language and keyboard setup the English language but you can change to what you want. For the location, you can change that as well and the installation will detect your location if your PC is connected to the Internet.
Dual boot configuration - Option 1: Install Alongside
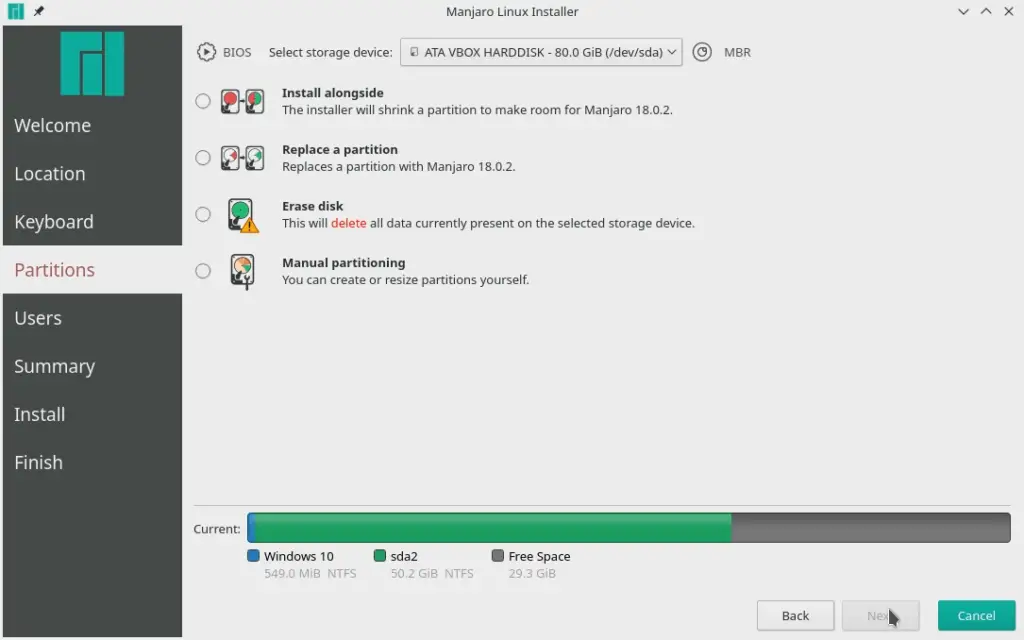
OK, here is an important step. This screen is prompting us to setup the Manjaro partition and how are we going to install it. This time, in this post we will show you one of the simpler steps how to partition, setup dual boot and install Manjaro. For that, we have the first two options - Install Manjaro alongside and replace partition.
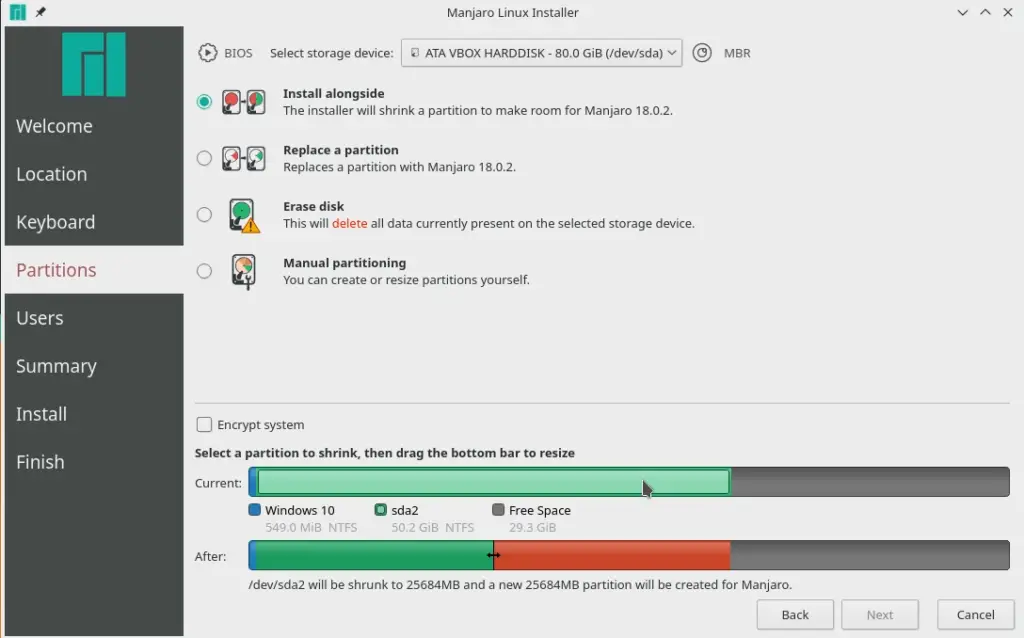
The first option, Install Manjaro alongside is a very simple way to install it. When you select that option, on the bottom of the screen, it will display two bars. Those bars are representing your HDD and your partitions. Click on the first bar then the installation will activate the second bar and it will allow you to modify it. With your mouse, hover over the second bar and you’ll have a slider on it. Move that slider left or right.
What are you going to do with that slider is to decide how much of disk space you will allocate or give to your Manjaro partition. When you move it more to the left, it will give more space to the Manjaro partition, if you move it to the right - it will give less disk space.
The installation can detect another system on the HDD and it will warn you if gave too much space to the Manjaro. If you skipped partitioning in the Windows, you can also manage partitioning here in the Manjaro installation without needing to partition ahead.
Option 2 - Replace partition and boot loader setup
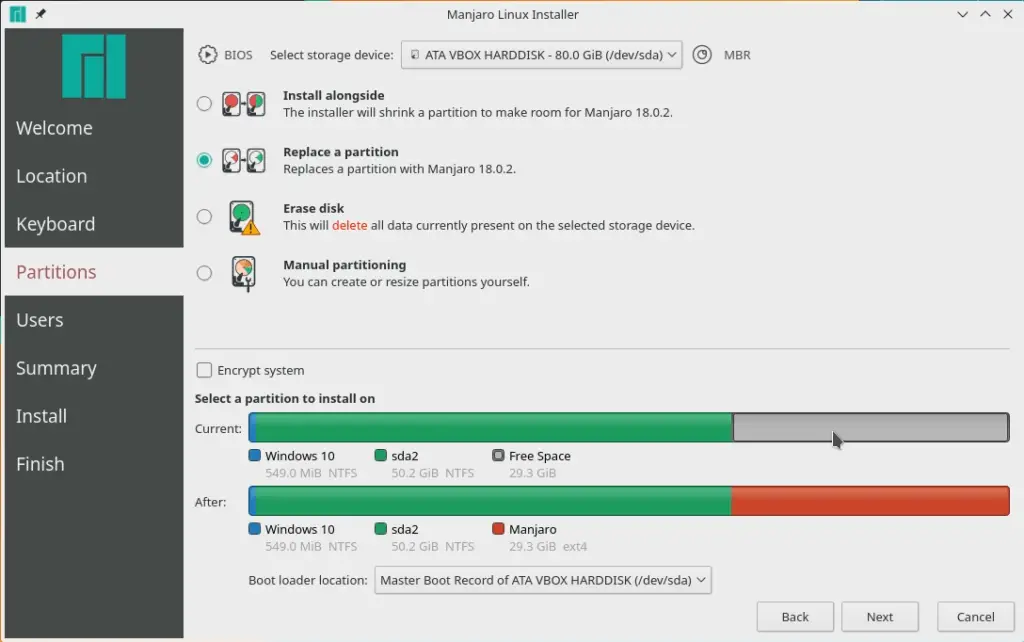
But this time, in this tutorial - we will not use the first option - install Manjaro alongside. We will go with the second option - Replace partition. Select that option. When you select, it will give you again the same two bars mentioned earlier. Click on the first bar in order to activate the second bar. Now, what we’ll do. You can see partitions are in color, color coded to be precise. Each color represent each type of the partition.
As you can see, we have a grey partition. We need that one and we are going to use it. That’s our new partition we created earlier in the WIndows. Select that grey partition.
Another thing that is really important for this step - on the bottom of the window you have an option - Boot loader location. It’s important that this option is set to install on - BOOT MASTER RECORD. That way Manjaro will install it’s boot loader properly and will setup dual boot as well. Once you selected all that, click continue.
User account creation, finishing touches and dual booting
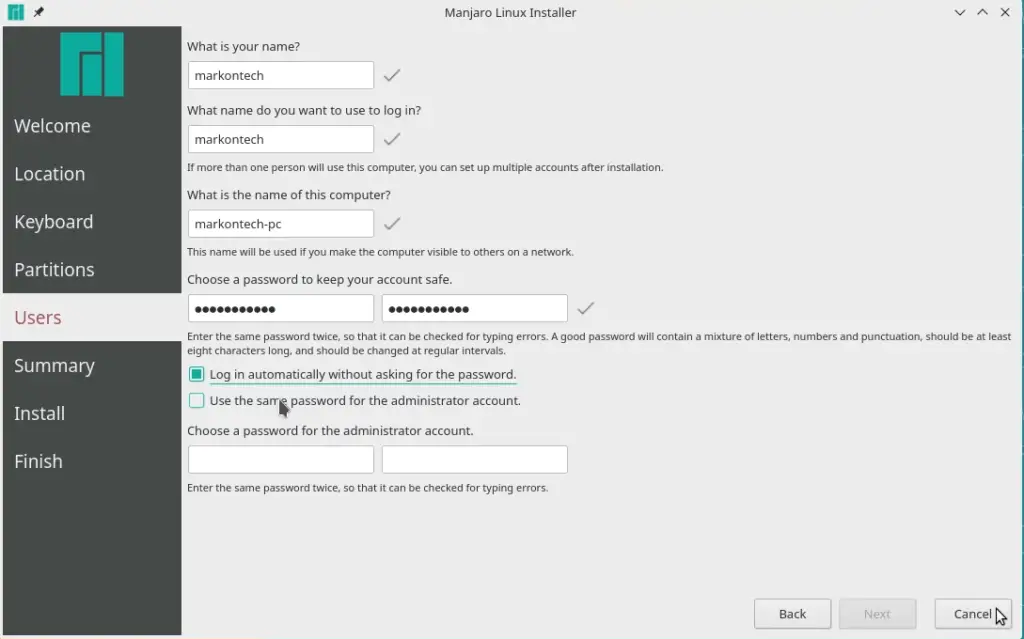
This screen is pretty self explanatory. We need to fill out info for our user account(username, password, computer name). There is also the option where we can have a separate password for administrative privileges(sudo access) or choose the option where our password will be the same for the sudo access.
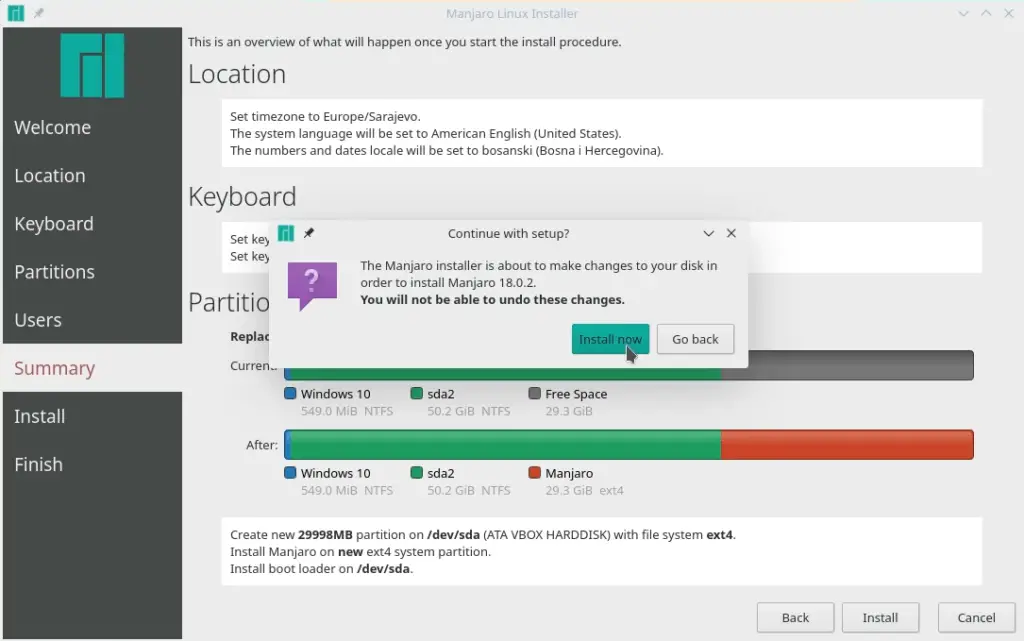
After that, we will click continue and get a summary screen to review our configuration. When you finish checking , click on the install button - a prompt will appear asking do you want to continue - click install now. The installation process will take around 15 minutes to complete.
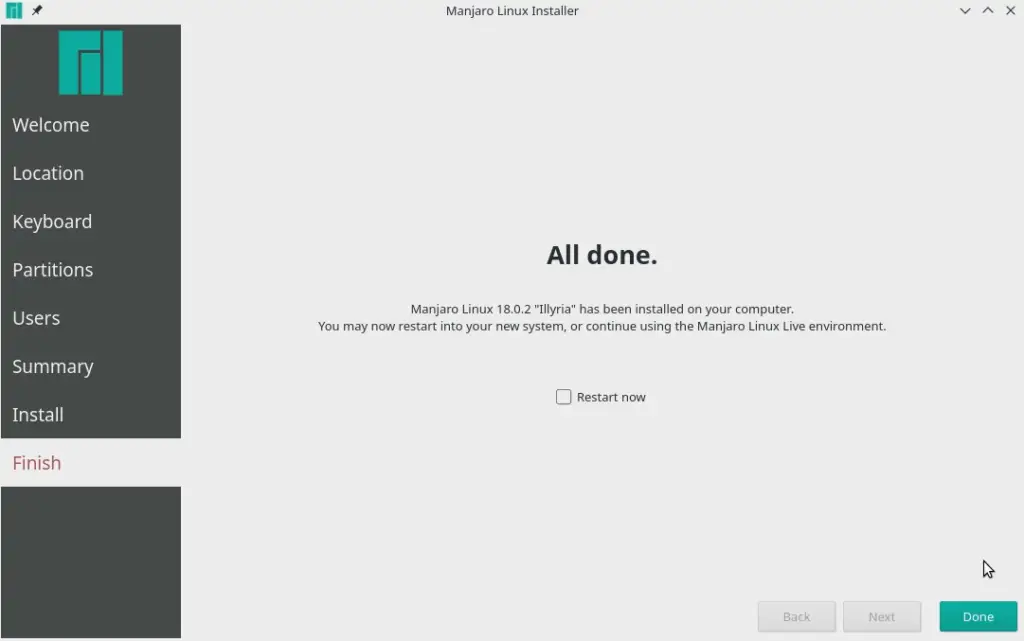
When the installation is completed, you’ll get an All done screen. That means that the installation has completed successfully. On this point, you can remove you bootable Manjaro USB, check the option Restart now and click on done.
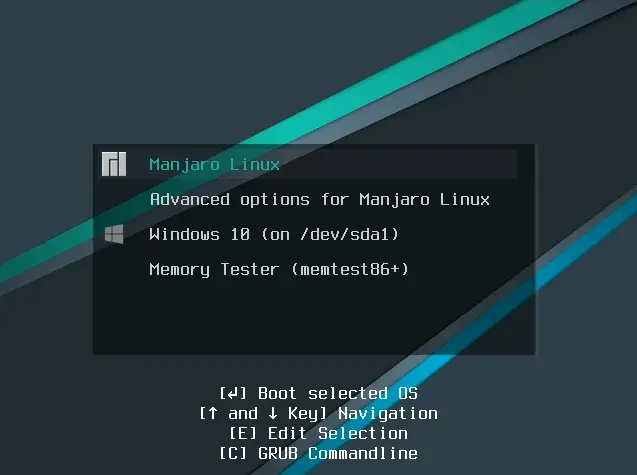
The system will reboot automatically. As soon it starts to boot, bootloader will boot first, so you need to get a screen like this. On this screen you select which OS you want to boot first, Manjaro or Windows . If you do get a screen like this, it means that you’ve completed everything successfully.
Summary
This was one method of how to dual boot Manjaro and Windows 10. The post is intended to be beginner friendly as much as possible. Manjaro Linux is a very good choice for beginners who want to have experience or to try out an Arch based distro and run rpm packages as well(Some other beginner friendly Linux distros - Ubuntu, Linux Mint).
Thank you very much for your time. I hope you found the post helpful