Install Gnome Desktop Environment on Manjaro 20.2
Overview
In this article we will cover the process how to Install Gnome Desktop Environment on Manjaro 20.2. That’s one of the most wonderful features that you can do with Linux. The ability to install multiple different desktop environments and to fully customize it per your likings.
Bur before we continue with the installation, there are few points worth noting:
Installing multiple Desktop Environments is not without risks. It requires time and some in-depth GNU/Linux knowledge in order to make ti all working smooth and to troubleshoot with ease, if some issues do come up. Here are some things that can pop-up when running more than one DE:
- The settings packages overlap so you can only have one DE pre-configured with the Manjaro theming. The others will need to have the theming applied manually.
- You can end up with more than one instance of similar applications. For example, it is common to end up with 2 Bluetooth managers. It takes some tweaking to get a single manager working in multiple DEs
- Sometimes two different DEs will share the same configuration files causing strange things to happen, especially with theming
These risks are greatly reduced by using a different user account for each DE.
In summary, running multiple DEs is possible and a great way to enjoy Manjaro but it requires a willingness to troubleshoot and work through minor problems. If you are the type of person who wants everything to “just work” out of the box, running multiple DEs might not be for you.
Gnome Desktop Environment installation
1. Start first by installing the Gnome desktop environment with the command from bellow:
sudo pacman -S gnome

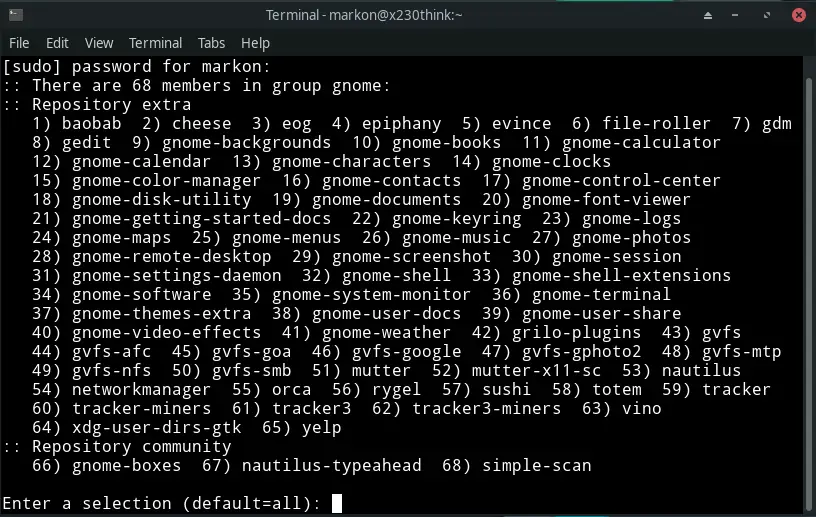
If you get this prompt, it’s asking what packages and tools to install with the Gnome desktop. Default option is to install all, so you can install all the packages as default or choose what you want or need only.
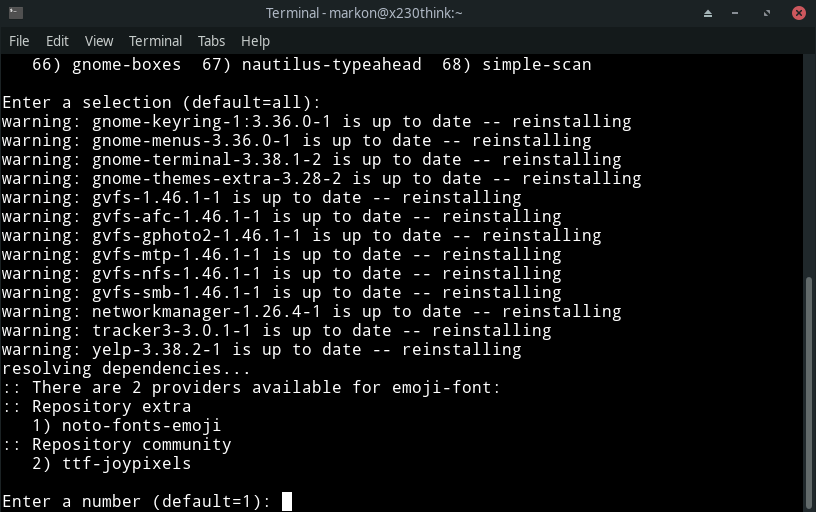
1.1. Optional but not necessary - install additional features, games and themes:
sudo pacman -S gnome-extra

It will prompt you as well which repositories to use for the Gnome’s icons. The default option is 1, so you can leave it as default.
2. Also optional, but recommended - Activate and use the GDM, the recommended display manager for Gnome. It comes installed with the desktop environment already:
systemctl enable gdm.service --force

One note as well - no need to run this command right away after you install Gnome desktop on Manjaro. You can run this command after you switch desktop sessions and login to Gnome the first time. Manjaro should prompt you as well which display manager to use for Gnome when you login for the first time. If it doesn’t, then just run the command to activate it.
2.1. Also optional but could be of use - the Gnome configuration and theming packages:
sudo pacman -S manjaro-gnome-assets manjaro-gdm-theme manjaro-settings-manager
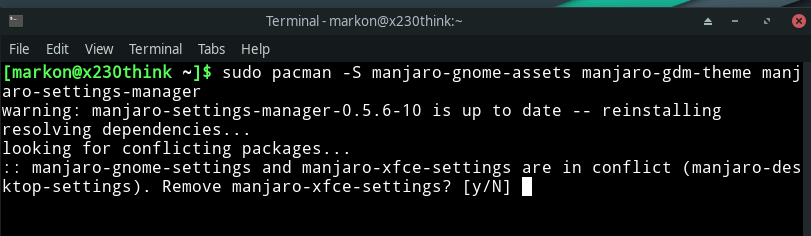
If you decide to install the Gnome configuration manager, it will prompt you that it detects another desktop environment configuration file and it’s asking to remove the other configuration file and replace it for the new Gnome desktop configuration file. On this prompt go with the NO option.
3. Last step - create a new user for the new DE:
sudo useradd -mG lp,network,power,sys,wheel <username>
sudo passwd <username>
After you’ve created a new user, log out of the current session, select the Gnome DE and login with the new user you’ve created.
Summary
To summarize the post. We covered the procedure how to install Gnome Desktop Environment on Manjaro 20.2. The procedure is pretty straightforward and it doesn’t require much time to install it. But again, please note, your mileage may wary and it may not turn out so easy and with no issues. Always a good idea to test the setup on a virtual machine before you decide to install it on your daily driver.
I hope the post was useful to you. Thank you very much for your time…